If you know the basics of stop motion animation, but want to make your animations the best that they can be, then you’re in luck because I’m about to teach you some advanced techniques. If you haven’t already, make sure to check out my last animation blog post where I teach you the basics of animation.
Lighting
Now that you have a three-point lighting system, it’s time that you learn some other ways to light your set. Firstly, I want to clarify that a normal three-point system is completely fine and looks great, but if you want to match a scene from a movie or have super professional lighting then these can come in handy. The first thing you can do is use see through plastic to create lighting. You can buy this material at any arts and crafts store or you could even use sweet wrappers like the plastic on quality street chocolates if you’re in the UK. Another thing that you can do is use custom lighting kits from companies like Light My Bricks or Elegant Bricks. These are good if you have any modular sets because they are specifically made to fit perfectly in the set. These also work really well in street lights.

Set design
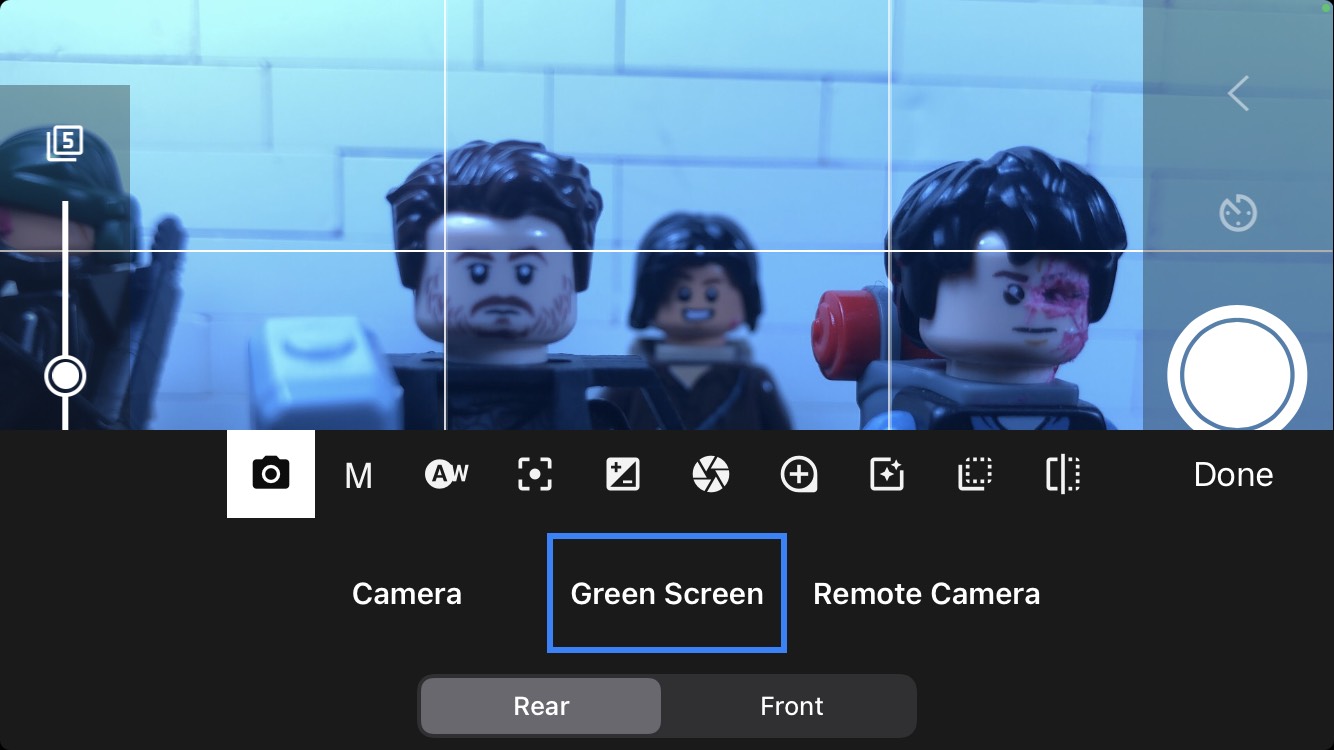
There isn’t much more I can say here as I covered almost everything in the last animation article. I do have a few more things though, the first is green screen. Green screen is a very complex tool to use in animation, but if you use it well, it can give you a very clean looking background. If you are using stop motion studio pro you can activate this feature by going into the camera and press the controls button and go to the furthest left tab. There you will see three options “Camera”, “Green Screen” and “Remote Camera”. Obviously, you just select the “Green Screen” option and it will be turned on. Then all you need to do is import a photo and find a blue or green piece of card and use it as a background and then you’ll be all set!
One rule to keep in mind is only build what the camera sees. You aren’t building a MOC so as long as the camera can’t see it, it can look as ugly as can be. For example, if you are building a wall, the back of it can have stickers, be poking out or even be a SNOT piece as long as the front looks good. Also, I think this is a no-brainer but I’ll mention it anyway, MAKE SURE THAT YOUR SET IS SECURED TO YOUR TABLE!!!!!!!! I can’t stress this enough. Whether it be with blue tack, tape or even weights just make sure that its stable! Lastly if you’re ever making as wall make sure that you aren’t putting bricks right on top of each other rather by locking them together like actual real-life bricks so that its more difficult to knock over.
Planning
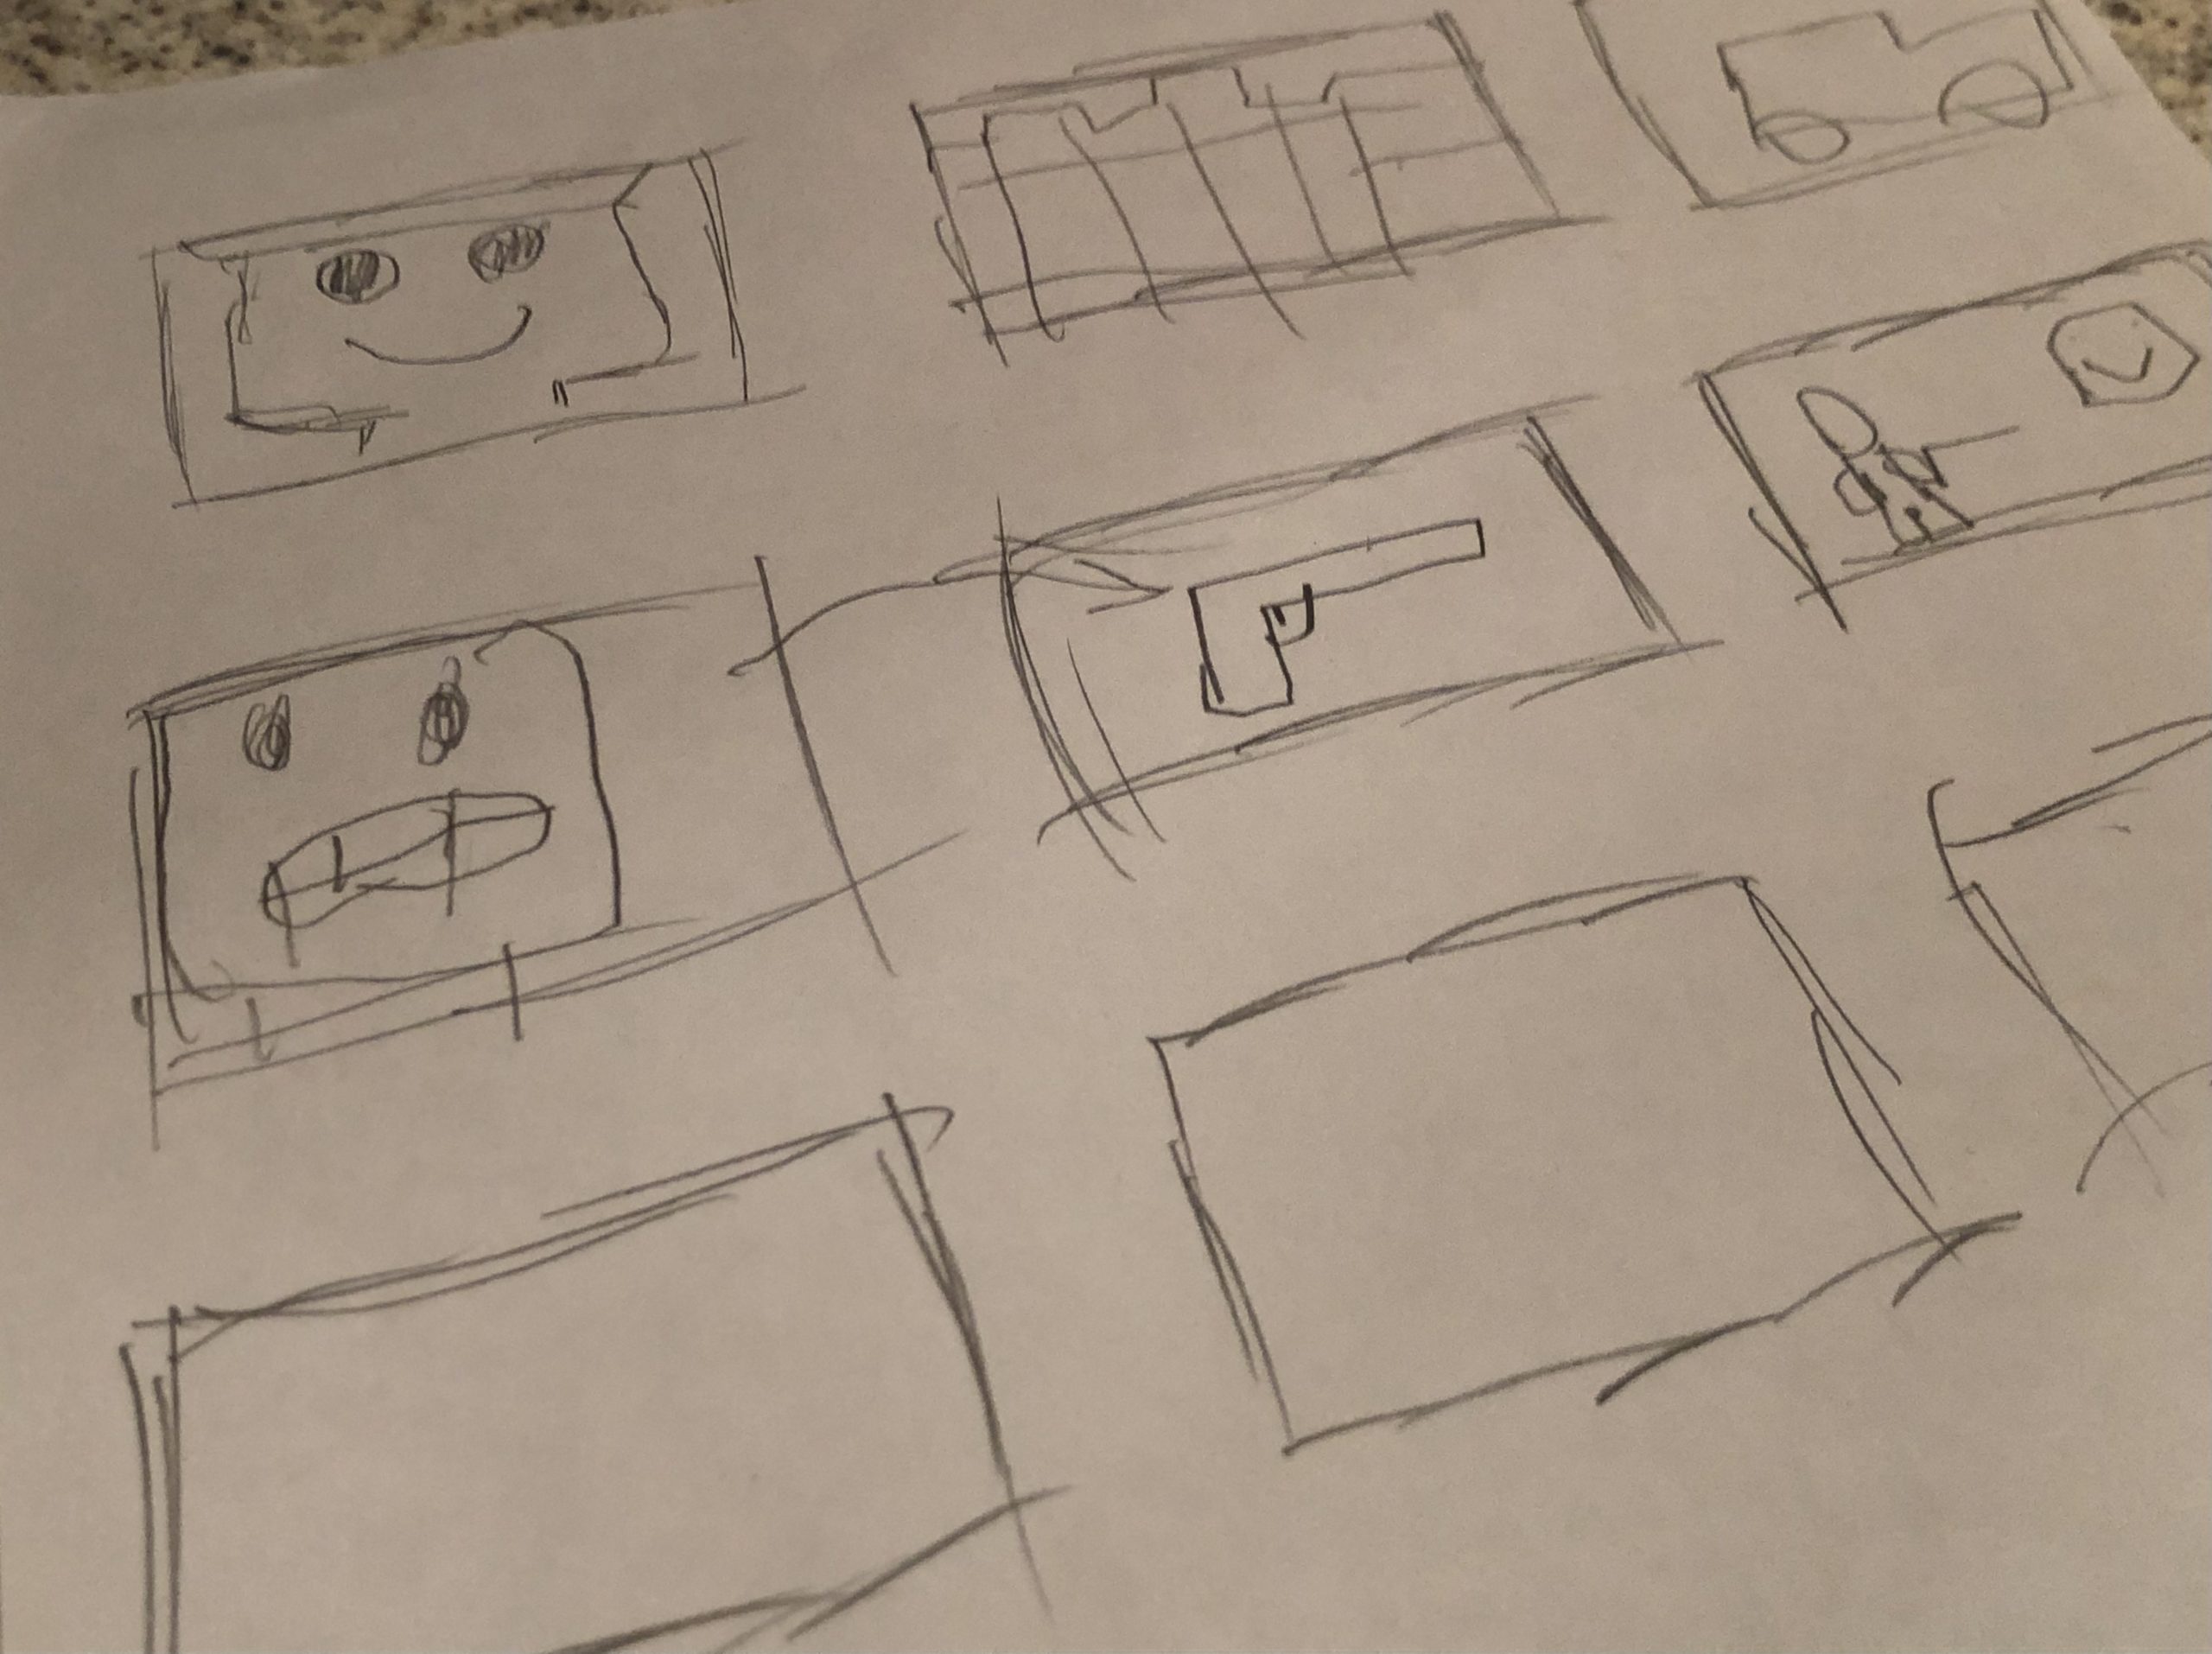
There are a few things that you need to do before you start animating. The first thing is writing a script. When writing a script, you should write the dialogue and also basic directions to help you when animating. Once you have written your script you should print it out (if you have written it on a computer). After you have written your script, the next thing that you will want to do is draw a storyboard. A storyboard will help you when animating as it shows you exactly how and where your character will move. But sometimes you might just want to make it up as you go and that’s also completely fine.
Get the Latest LEGO Sales & Deals
Animation
I only covered animation briefly last time so now I’m going to give you a more in-depth guide.
Animation Style
One of the first things that you’ll need to figure out is an animation style. There are three types of styles
. Realistic
. Exaggerated
. Somewhere in the middle
You can pick one of these styles or mix depending on what you’re animating. For instance, if you are animating a movie trailer it would fit better with more realistic style rather than an exaggerated style. But if you were animating a comedy video you would use and exaggerated style because it fits better with the tone of the animation. And if you are doing a normal stop motion you might want to do something in the middle.
Showing Expression
One way to bring life to your animations is to give your characters their own personality. To do this, think about what your character is like. Are they happy? Are they sad? Are they angry? If they are happy for example when they walk make their arms have large swings. If they are angry make them have small arm swings and have them hunched over when walking.
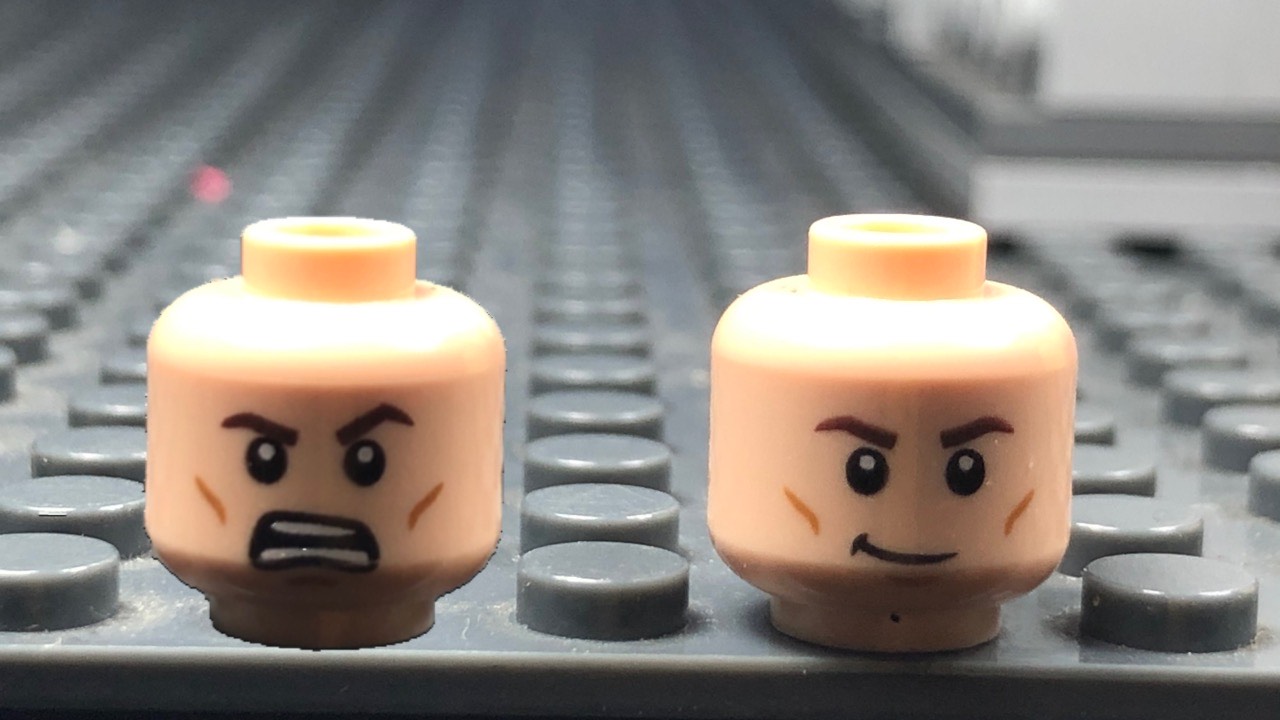
Another way you can show expression is by using different heads with different expressions. You can grab some out of your own collection, but if you don’t have many you can always buy some from Firestar Toys as they have a great selection to choose from. One of the most used ways to show expression is the hand twist. This is probably the most used movement in the animation world because it can be used when a character is talking to show emotion. Also, it can be used no matter what mood your character is in and it adds something visual when your character is speaking instead of them just standing still. Finally, to show expression you can use the minifigure hair pop. This can be used when your character is scared.
What to do with your brickfilms?
Now that you have finished your brickfilm, what can you do with it?
 YouTube
The first thing that you can do with your brickfilm is upload it to YouTube! There are many brickfilmers on YouTube so it’s quite hard to stand out but sometimes you might just strike gold and go viral! Also, one of the best parts uploading to YouTube is that if you hit 1,000 subscribers and 4,000 hours of watch time you will be able to monetise your account, which means that you can earn money from your animations. A good way to get noticed on YouTube is by doing animations to coincide with current trends. For example, at the moment there are many Among Us animations because of the popularity of the game. But always make sure that you are among the first few people to do the popular stuff otherwise your video will get lost within the hundreds of other videos.
 Instagram
Instagram is the final way to get your brickfilms out there. Instagram has a large brickfilming community so it’s perfect to get people seeing your animations. To my knowledge, Instagram doesn’t have a monetisation system at the moment, so you won’t be able to make any money unless you get a sponsor (which is extremely difficult). But another way you can use Instagram is promoting your YouTube account and uploading small snippets of your animations!
I hope that you learned something from this. You can check out this article for other useful tips, too. Have a great day, and stay safe!
Get the Latest LEGO Sales & Deals
