FireStar Toys recently released their “Film Noir Detective” figure. I got hold of the figure and wrote the opening to a short story and added a couple of images, featuring my new Film Noir Detective, that I called Studs Clutchmore. This article is about how I set up the images; I thought it might help any budding toy photographers.
Editing the Images
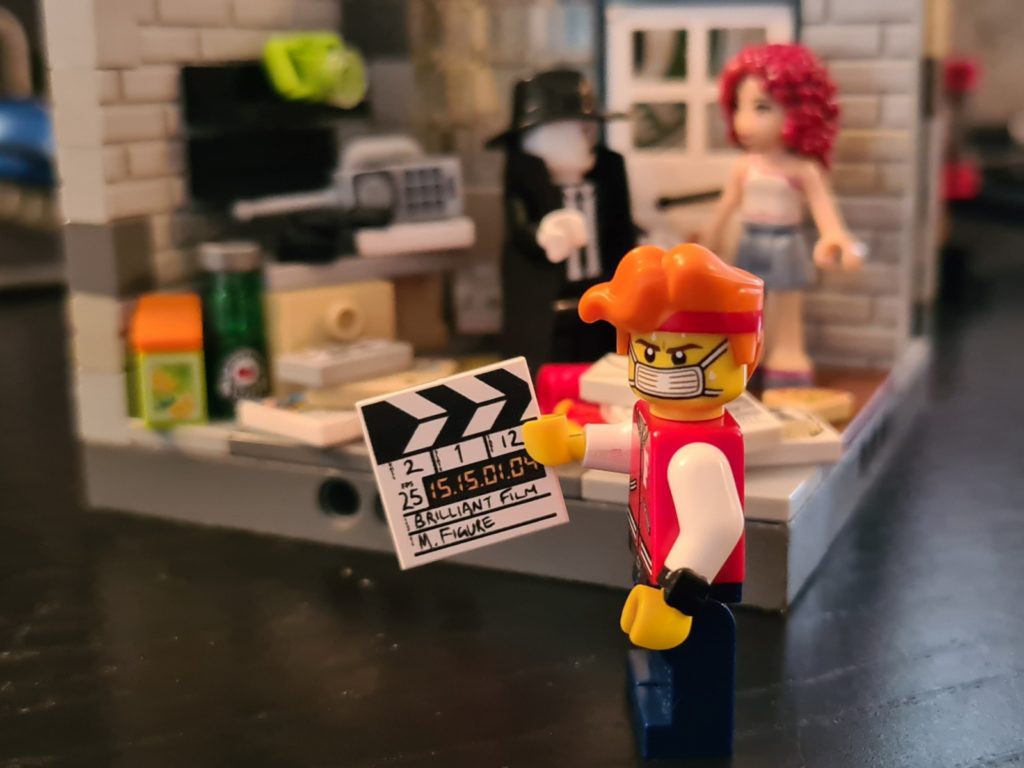
The first point that it is worth making is that none of these images were taken in black and white. They were all taken at my desk, using my smartphone with no special lighting. I am using an Android phone and for these images I have just used the Pixlr image editing app; so, all edits are relatively lightweight. By that, I mean that I could have used more heavyweight image editing software tools such as Photoshop, GIMP and even Picsart, but I decided in this instance, less is more.
I feel that I ought to point out that I don’t have any Apple devices; I’m sure someone can advise what applications are available for iOS and what their preference would be. Ideally for this article I would like to recommend cheap or free apps so that anyone can benefit!
My phone now takes quite wide pictures, so my first job was to crop them down. I do this so that we trim the things we do not want to see; it also draws the viewer’s eyes to what we want to focus on. We published an article on the basics of toy photography here and that talks about the rule of thirds among other things.
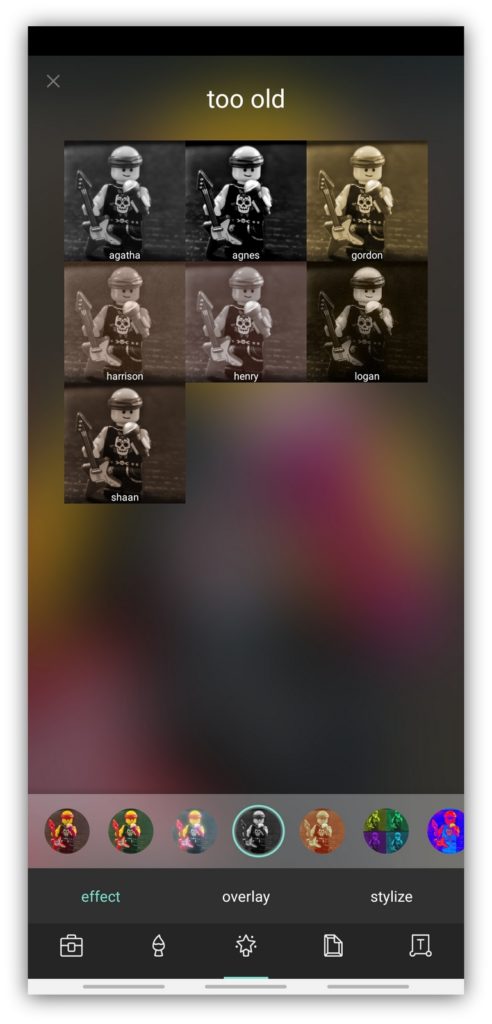
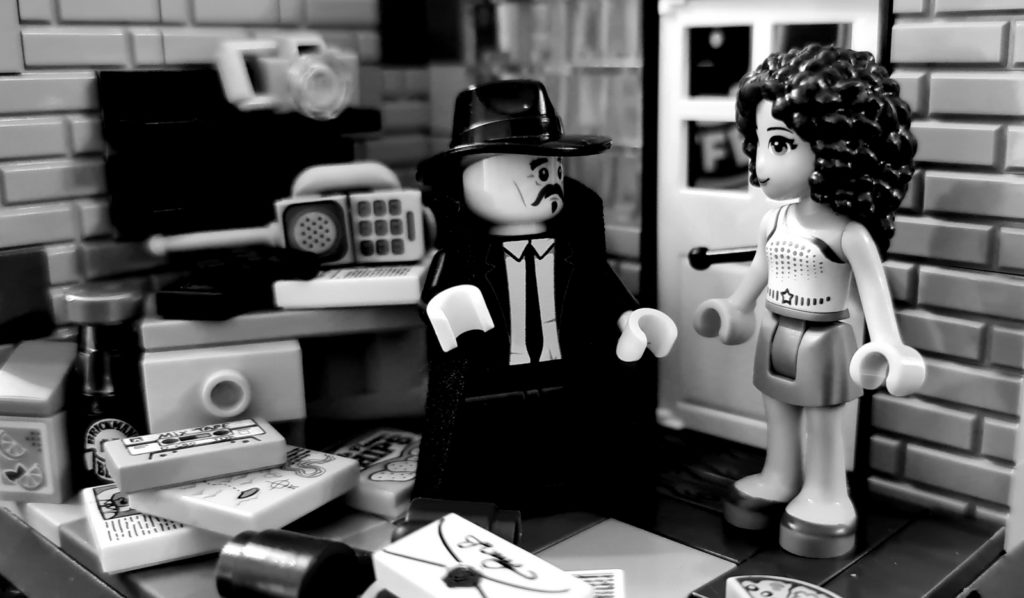
After I had cropped the picture, I applied a filter to each of the images. I chose the filter “too old” and for each of the images I used either “Agatha”, “Agnes” or “Logan”. “Agnes” was used for the first image in this article.
Creating the Scenes – Studs’ Office
To me, the art of a good piece of toy photography also includes what is not shown in the final picture. If you’ve ever had the opportunity to go to a film lot, or indeed a Theme Park, you’ll know that designers will only work on the parts that you need to see; everything else can be mocked up or just not built.
In set design, your room walls are never straight, they are angled to give the illusion of depth. This is well displayed in the LEGO IDEAS Friends set. In my story, I had three scenes; the first was Studs’ Office, the second was The Drive to Penny Smith’s House and the third was The Window.
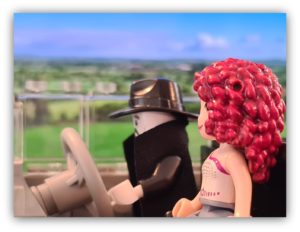
Studs’ office was a relatively straightforward build but using just two walls. Because I included a door and a window, I needed to put something on the other side of the door, so I built a second wall just behind with the Brikbucks Coffee logo on it. After all, product placement always helps with production costs! You can just see the edge of the second wall in the second image in the article.
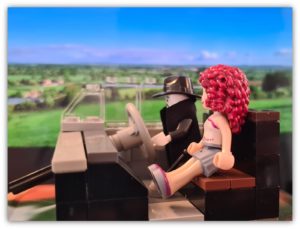
Creating the Scenes – The Drive to Penny’s House
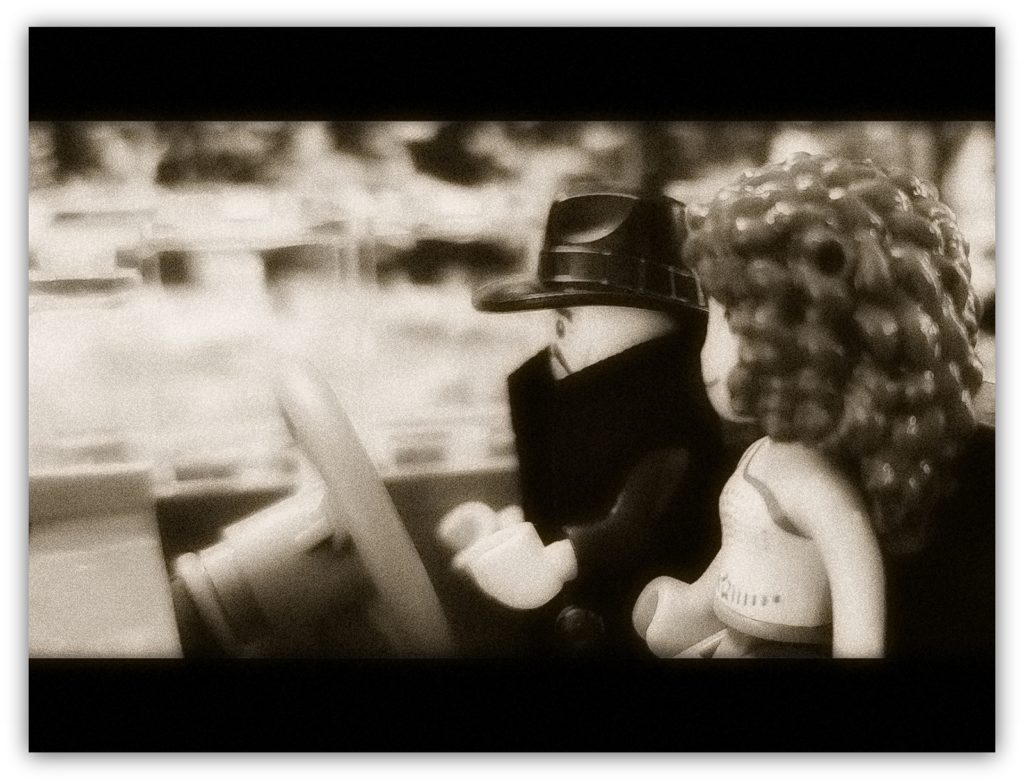
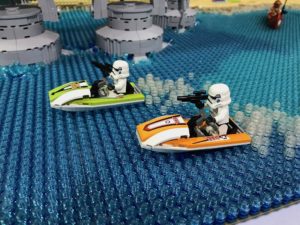
The creation of this image was taken right out of the book of simplifying and just using what was needed! The image is the car in front of an image:
As you can see, I did not build the whole car; in fact, I only built a fraction of a car! Because of Studs’ coat I could not get him to sit down, so I just took the chair away; only Penny is sitting! I also raised the frame up so that the background looked right. When I took the image, I made sure that I was at the right height, level with the characters and focused on them and nothing else.
Get the Latest LEGO Sales & Deals
I could then crop the image right on our final shot. I then applied the “Logan” filter and framed it with the two black “film” bars.
Creating the Scenes – The Window
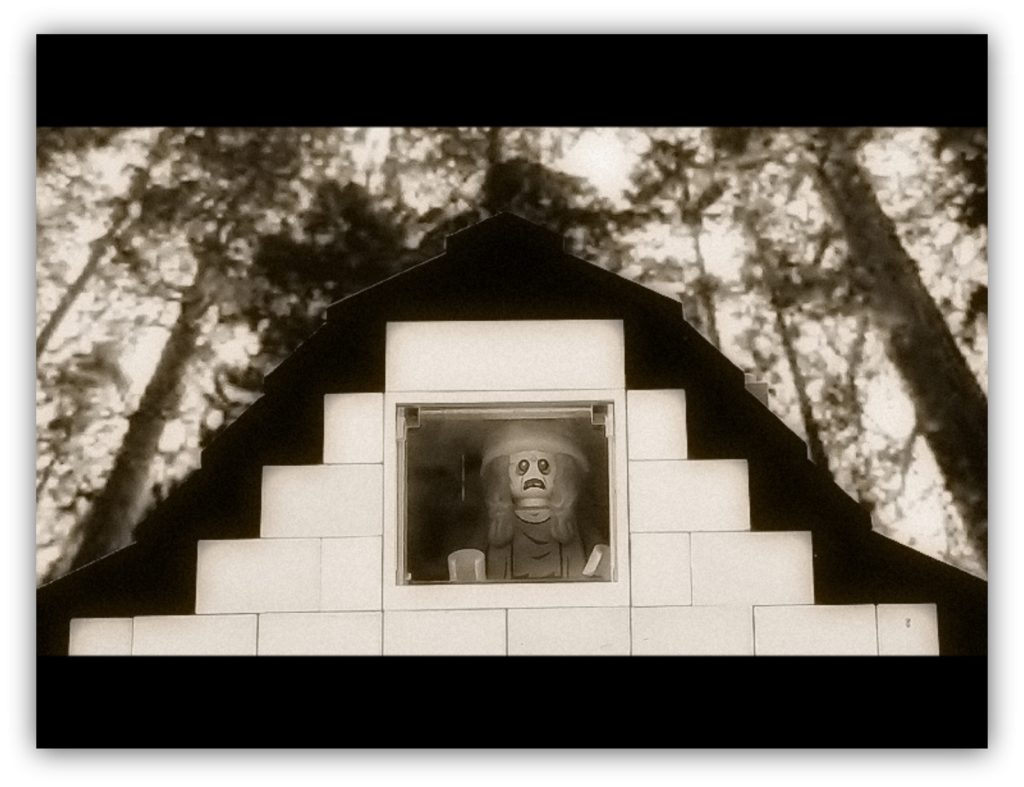
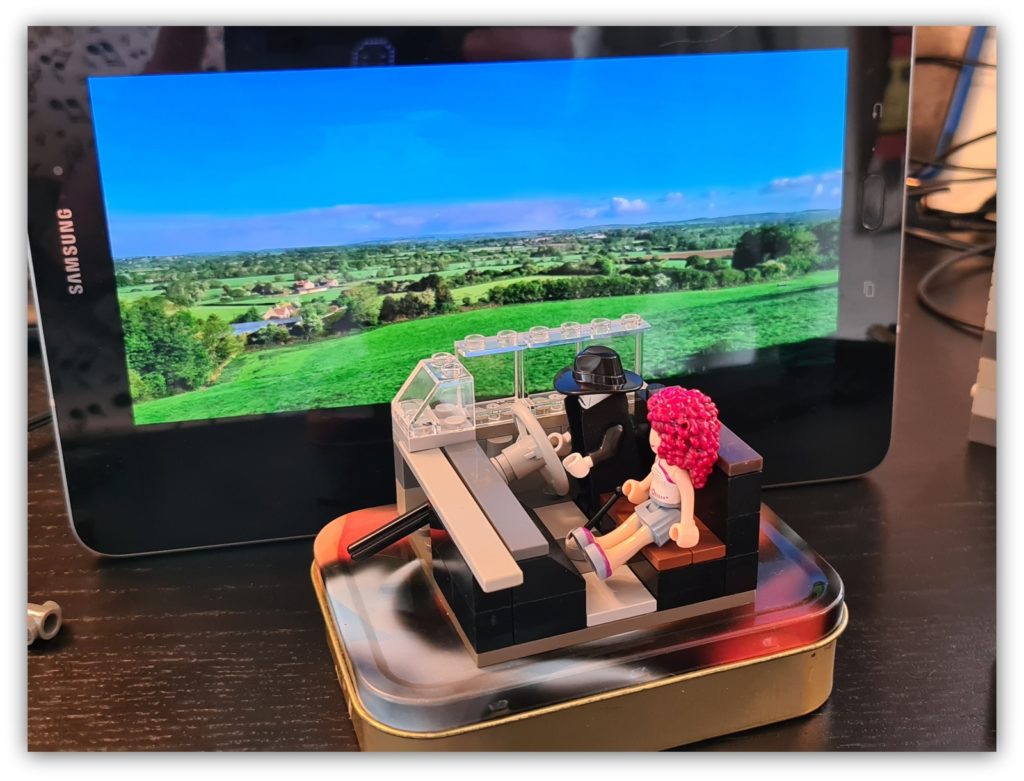
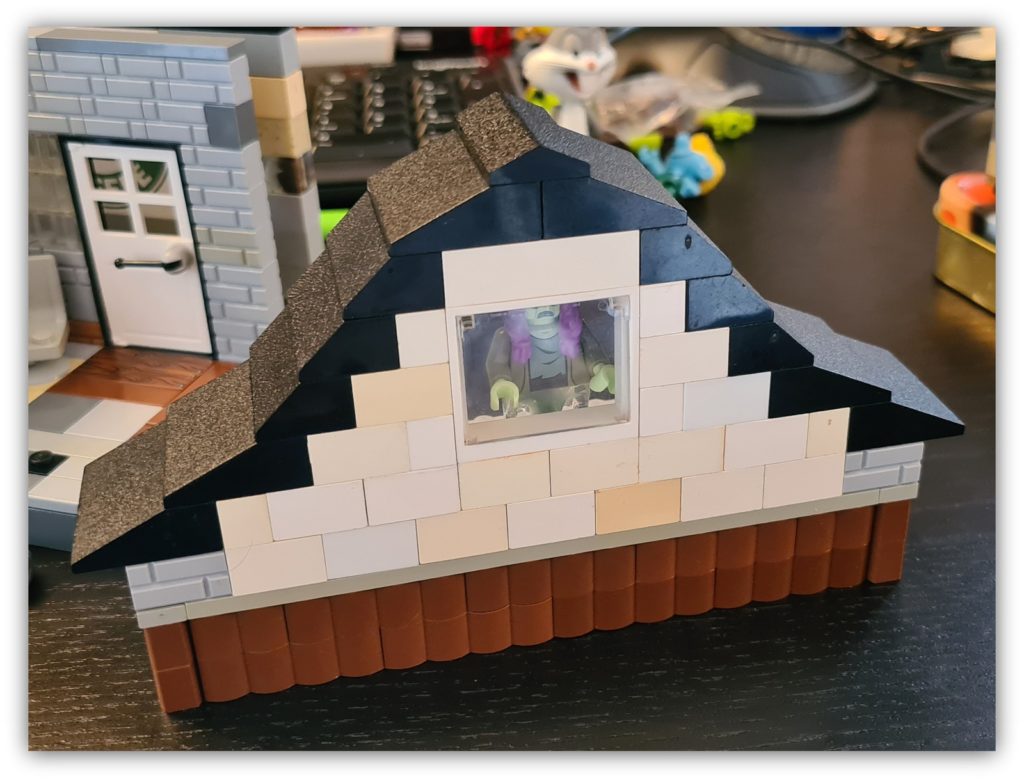
You now already know how I got the background in this image as I used the same technique. However, remember I said you only needed to focus on the things you needed to see? Well, that is because the house is only the roof part:
For this final image, I had to do two things. First I had to set the background image high enough that when I got the angle right (remember, we would be looking up at the window, not at it) the trees would be towering over the house. This also meant that I had to take the photo from below the table to get that angle.
Because I was not going to need to see the whole house, I did not need to build it. The whole construction is just four studs deep and apart from what you can see, the back is bricked up using dark grey bricks so that the tablet image did not appear in the window as well.
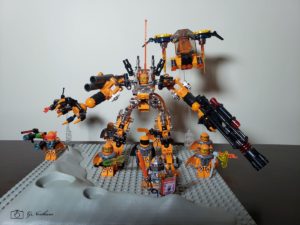
Getting the Accessories Right
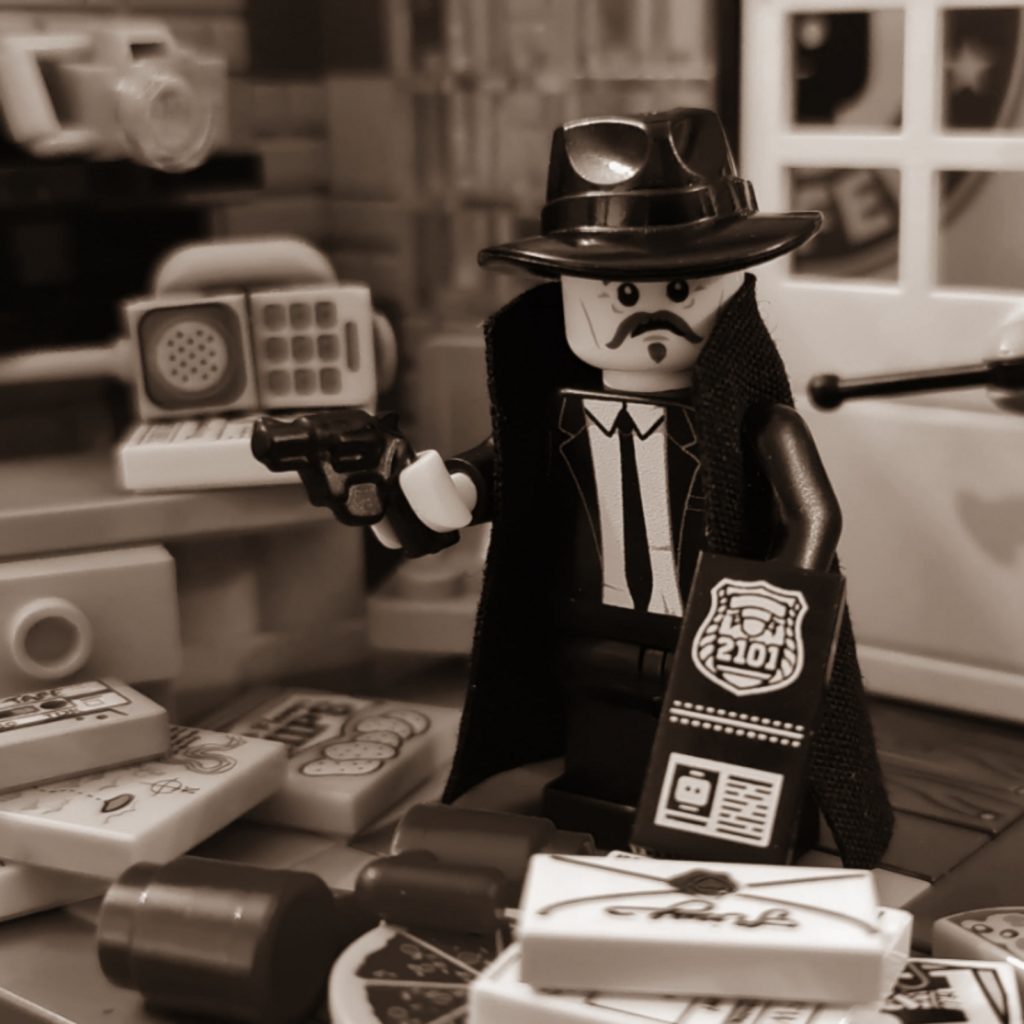
One of the biggest challenges in scene setting are the accessories. In my story, I mentioned that Studs was getting bored and that he was thinking about tidying his office. To create the appearance of a mess, I found printed studs and tiles that could be used. As I wasn’t sure where the figures were going to stand, I had to make sure that the mess was all around, so in my build I had juice cartons, beer bottles, maps, newspapers, crisp packets, pizzas and just behind Studs is a City Wok Chinese takeout box!
One advantage to using the black and white filter is that Studs’ camera looks light grey whereas it is actually lime green! I decided that I wanted to include a retro mobile phone in Studs’ office. Although the character of the Film Noir Detective probably places him around 1940-ish, I thought that anything “old” would be acceptable, so using a phone that was about 40 years old would be okay!
Framing the Image
As I noted with the retro mobile phone, framing the image is important in storytelling. I read recently that Alfred Hitchcock shot the 1960 film Psycho in black and white because he thought it would be too gory in colour. Again, it goes back to showing what you want people to see.
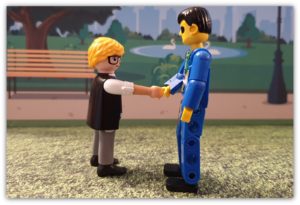
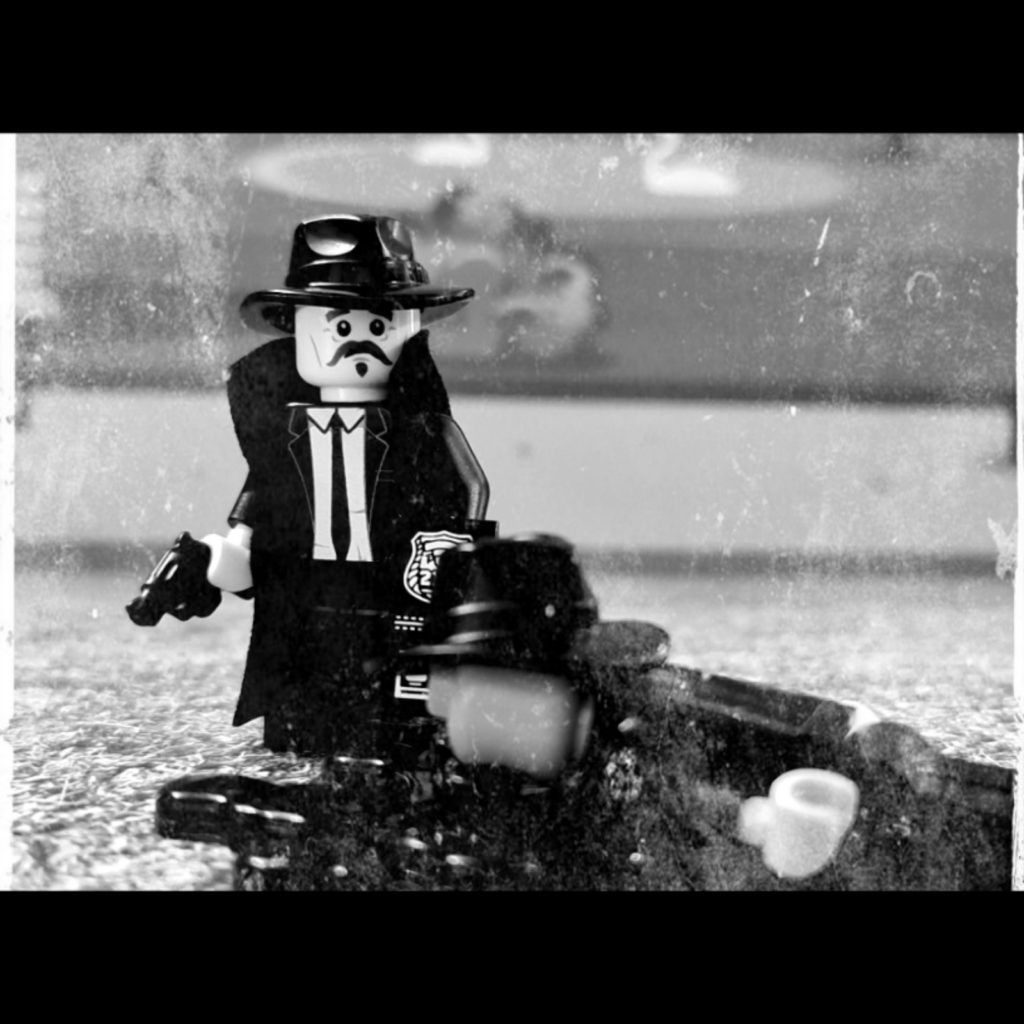
In the two examples below, I found a movie still from the Studs Clutchmore film “Park and Died”. It was this scene that Studs came across his friend and occasional driver Mickey in the local park. I had found a blood splat that I could rest the body on. The use of the framing filter takes away the amount of “blood” that looks present in the image.
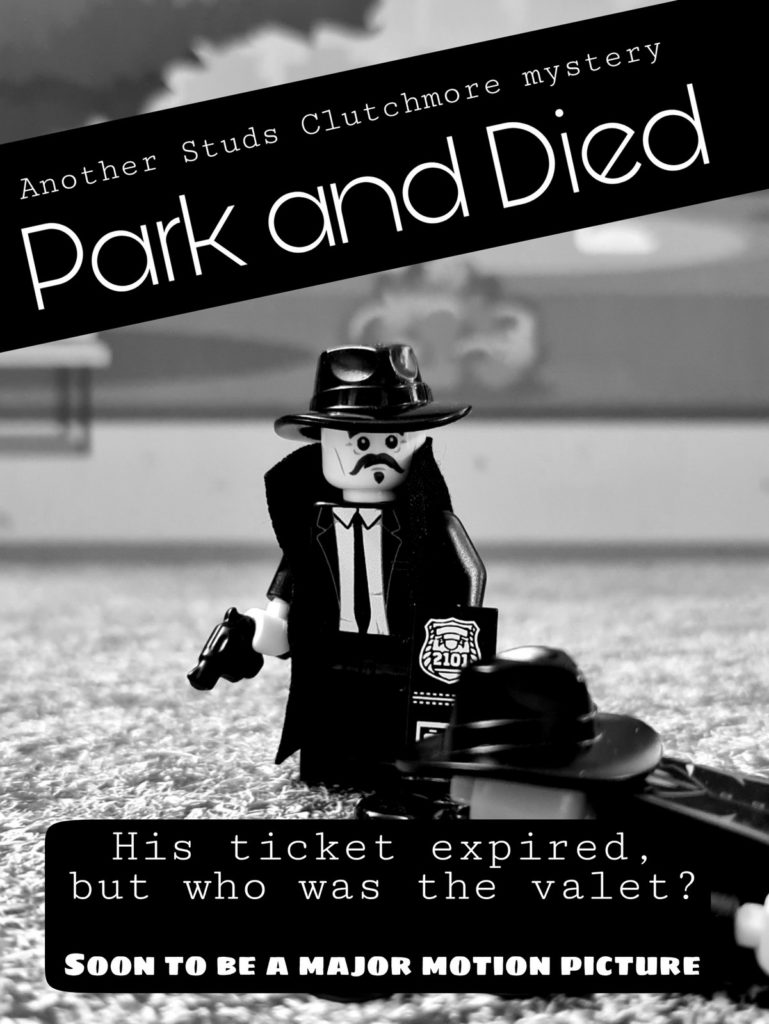
I also decided to use the image as a pulp fiction book cover. In this instance, I used a solid text block to hide what Studs had found; but even if you had not seen the “movie still” you would have still known what was there.
In conclusion
The figure of the Film Noir Detective is one that is aimed towards classic film fans rather than young people. Consequently, the storylines end up reflecting this. But the method of taking the images, considering what needs to be “in shot” and “out of shot” applies whatever the genre.
I hope that this inspires you to get your camera and photograph your creations, telling the story. Have fun!
Get the Latest LEGO Sales & Deals