
Today I’m going to be teaching you how to take your animations from 0 to 100 in a few easy steps! But first let me explain brickfilms a little. Just in case you don’t know, a brickfilm is another word for a LEGO stop motion animation. A stop motion animation is created by taking multiple photos of the same object while moving the object in small increments and playing all the pictures together to give the illusion of movement.
Some places you may have seen stop motion used before are in Shaun the Sheep, Wallace and Gromit, Robot Chicken, Fantastic Mr. Fox, Missing Link, the award-winning movie Kubo and the Two Strings and even the scene with AT-AT’s from Star Wars: The Empire Strikes Back were done using stop motion. Also, all of the LEGO movies where computer animated to look like stop motion, fooling many people to think it was a brickfilm when the trailer was released! So now that everyone is caught up, I’m going to give you some tips.
Set Design
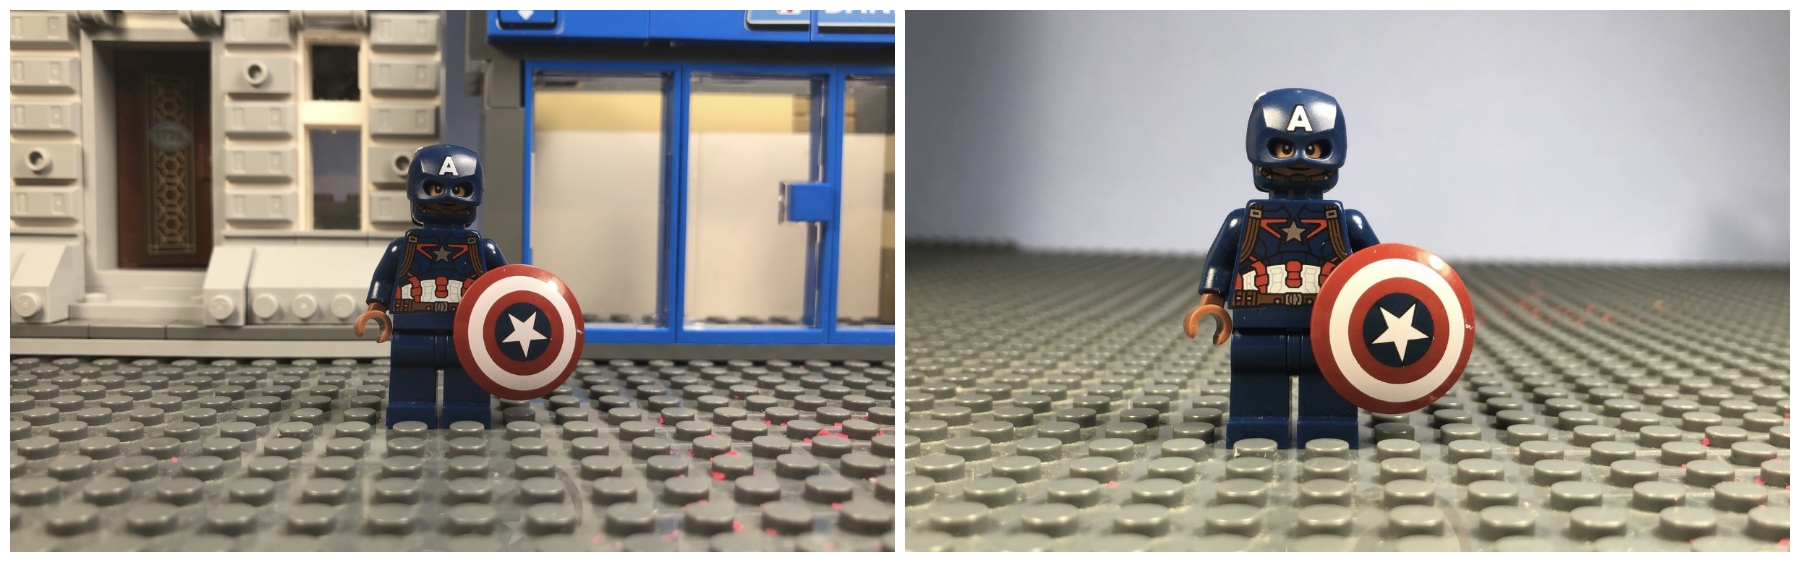
Set design is one of the most important things in brickfilms, if you don’t have a good set your brickfilm won’t look nearly as good. For a good set you won’t need much. If you have set 76108: Sanctum Sanctorum Showdown you’re in luck because it works really well in just about any location. But if you don’t have that set, there are many others that work well like the Spider-Man Far From Home: Hydro Man Attack
, the Spider-Man ATM Heist Battle
from 2017 and many more.
If you can’t get your hands on any sets then you can grab some pieces from your LEGO collection and build some of your own buildings and walls, but if you don’t have any bricks you can order some big wall pieces from Bricklink. Make sure to add lots of details to your sets like chairs, lamps and trash cans to spice your setup a little. When doing overhead shots, the best way to do them is making miniature builds. The reason this is so good is because it doesn’t require many bricks. For backgrounds you can buy a big piece of blue card to represent the sky. If you want a background from a movie, such as Wakanda from Black Panther, you can screenshot the landscape from the movie and print it out to use as a background.
Lighting
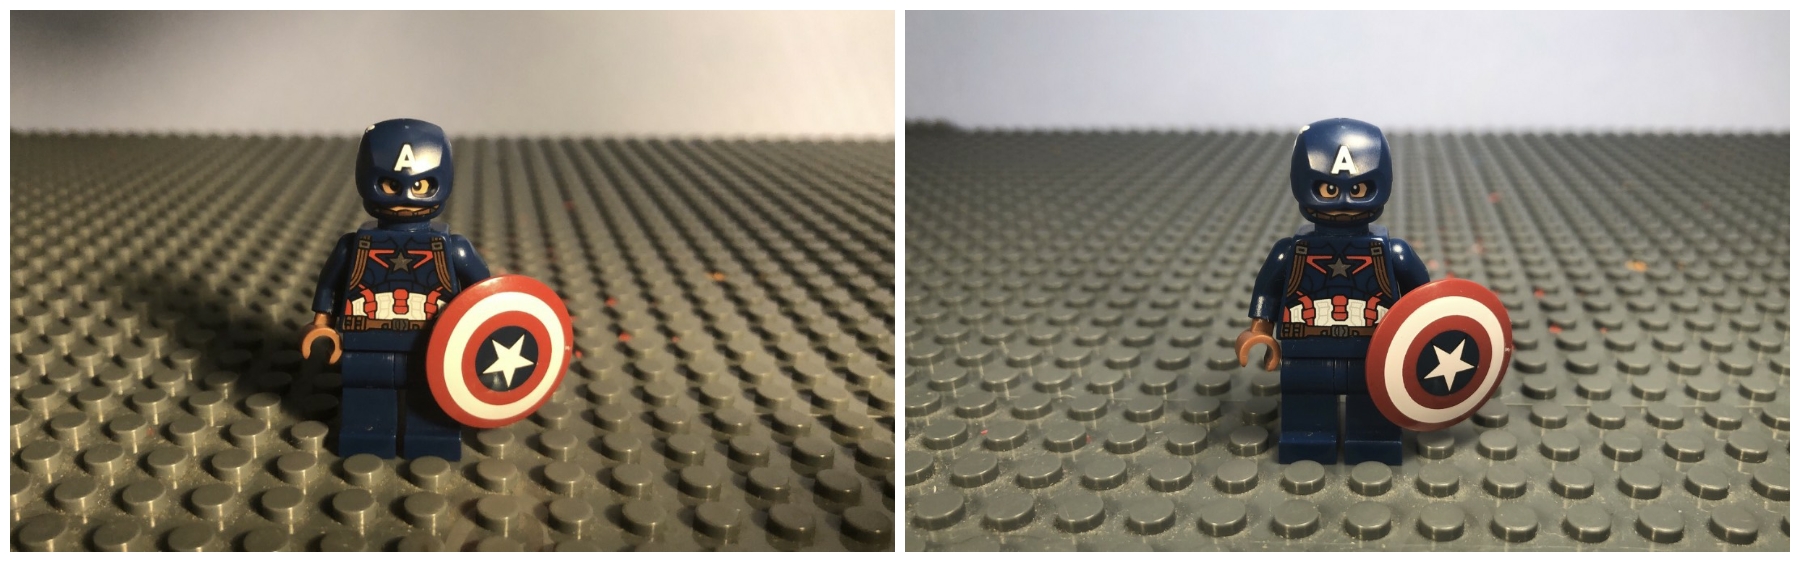
Lighting is a huge part of creating a good animation and when done good can make your animation look professional. The first thing that you need to know about is something called the three-point lighting system. This is what animators do to make their brickfilms look nice and bright. To do this you will need three lights. These could be expensive soft boxes but most people just use three desk lamps. You point one lamp to light the main focus of the brickfilm, another to fill in the shadows and the last one to light up the background.
You will preferably want LED lightbulbs to reduce light flicker. Light flicker is where the lighting changes slightly between every picture and it can make your brickfilms look like a Demogorgon was about. To reduce light flicker here are a few simple steps that you can take. Firstly, you need to shut you curtains or blinds to stop any natural light getting in because it causes light flicker as the sun doesn’t stay in the same place. Next, always make sure that you are wearing dark clothes as the light bounces off of bright clothes. You can also put some paper over your lamps to make the light a bit softer.
Get the Latest LEGO Sales & Deals
Camera
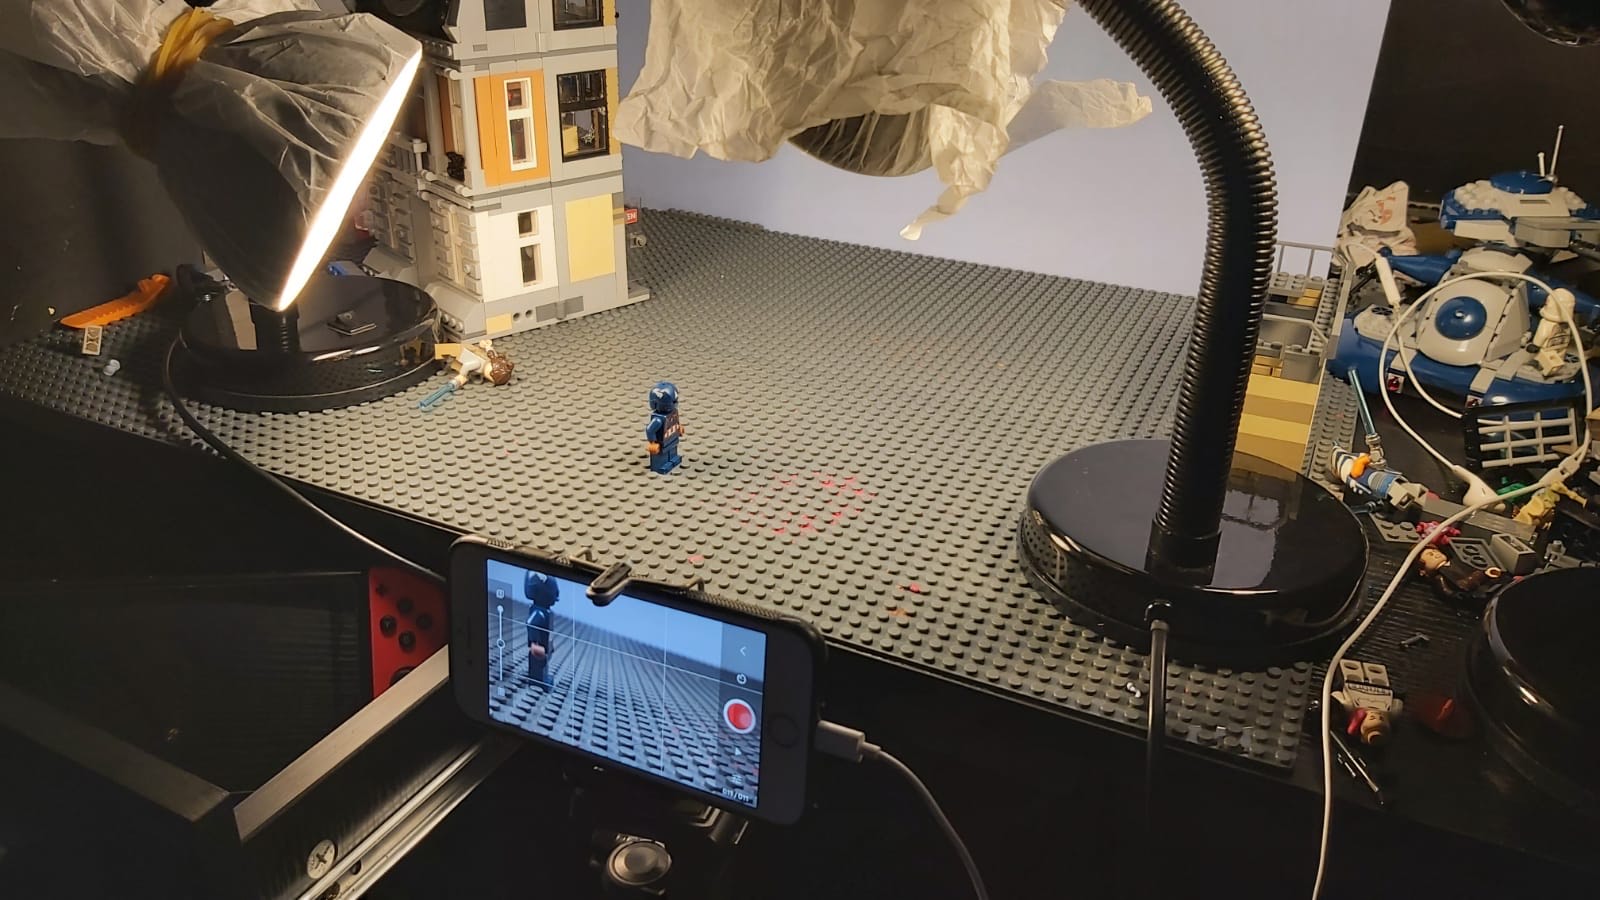
Now, the camera is the key to making a good stop motion, a bad camera will make your brickfilms look terrible. Some good cameras to use are: a mobile phone or tablet (as long as it has a decent camera), a webcam, and the best thing to use is a DSLR camera. If you are using a camera or webcam, I can’t really give you much advice as I don’t use either myself. I suggest looking up a tutorial on YouTube. For those who use a phone or tablet here are some of my tips. BUY STOP MOTION STUDIO PRO!!! I cannot stress this enough! It costs £4.99 and it is the best thing to use to animate on phones and tablets. It has so many features like masking out supports and also, it’s a one-time purchase.
When taking the pictures, make sure the camera doesn’t wobble when you take a picture. To do this, you can plug in your headphones and press the volume button and it will take a picture! You will also need a tripod. You can buy one or you can make one yourself out of LEGO bricks. One last thing that you might want to get is a macro lens. A macro lens allows you to get close up shots of faces or items.
Editing
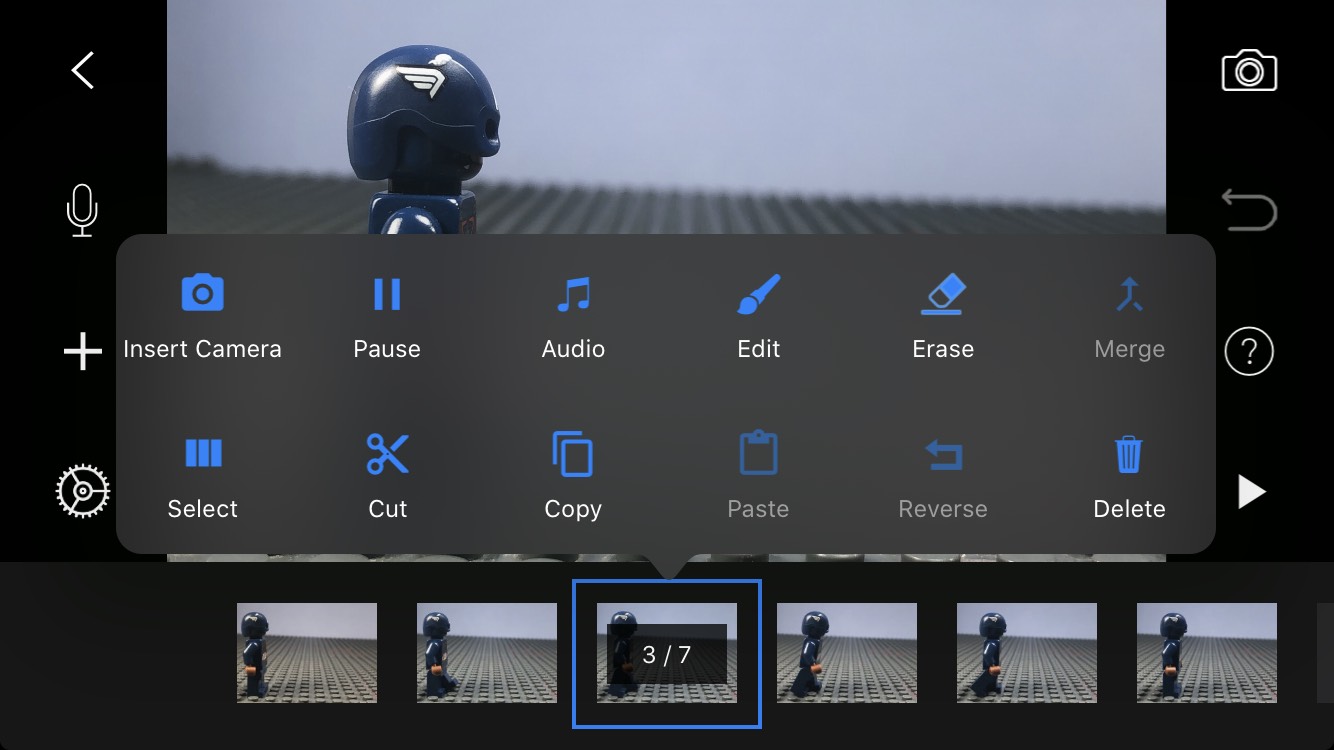
Editing is a very important part of making brickfilms and there are many apps that are great for it. First of all, you can do a fair amount of editing in Stop Motion Studio Pro. The first thing to do in Stop Motion Studio Pro is go through your animation and delete any photos that aren’t meant to be there such as accidental photos, photos with your hands in them or times you’ve taken 2 photos by accident. After that you can choose from a variety of filters to add to your animation.
Next, you can add any voices that you want to your brickfilm. You can also add drawings or writing over it. After that, you want to save your animation to your camera roll and bring it into iMovie (if you don’t have an iPhone, just find an editing app on the app store) I use iMovie to add my intro and sound effects to my brickfilms. The way I add sound effects is by screen recording the sounds and then separating the sound from the video and adding the sound to my animation. If you want lightsaber effects I recommend the app SaberMovieFX which is £4.99 and for gun effects I recommend the app Gun Movie FX which is also £4.99 but does have in-app purchases.
Animating
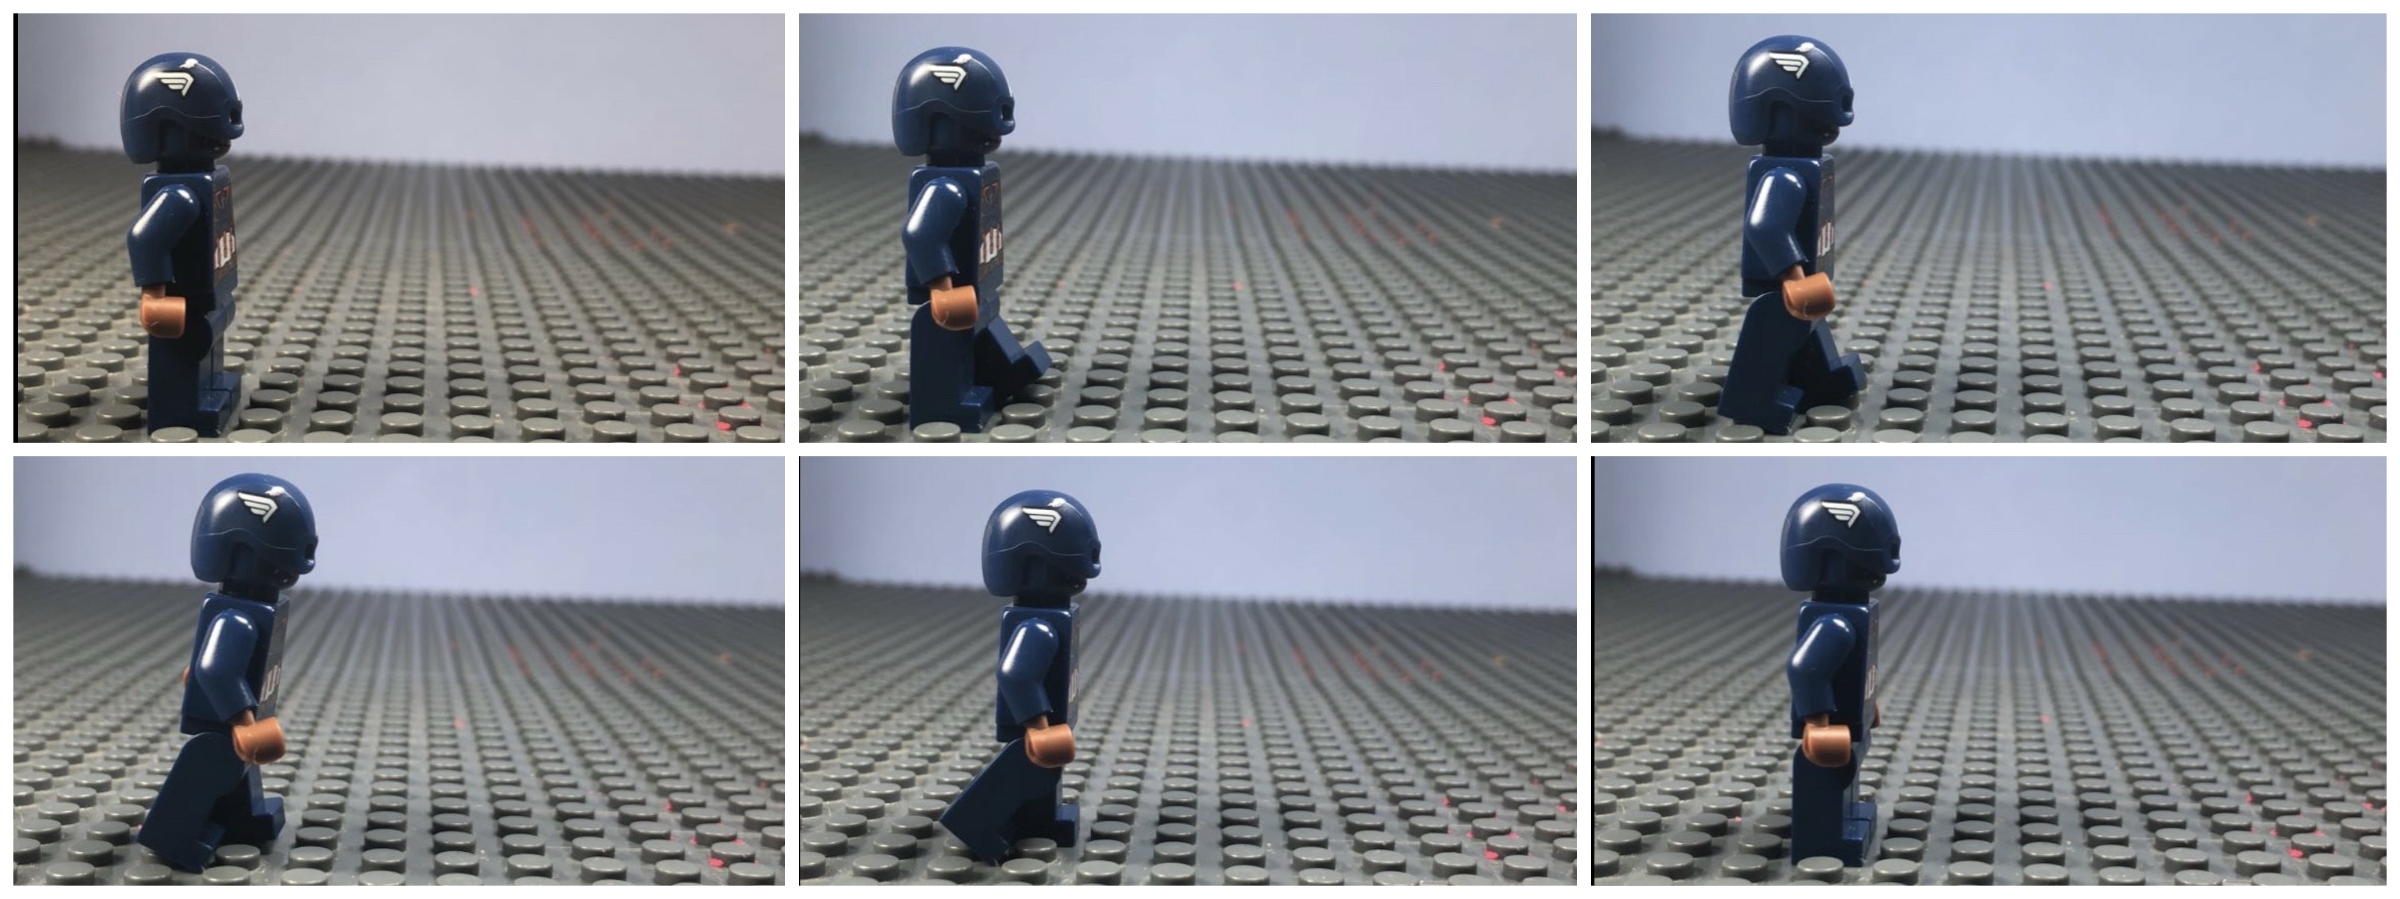
When animating here are some things that you should keep in mind. The first and most important thing to remember when animating is the rule ease in and ease out. This is where you do small movements then big movements and then small movements again, which is how humans move in real life. When animating a character walking, you need to know a good walk cycle so I’m going to show you one.
The first step is taking a picture with the legs side by side. After that, you need to put one leg out with the opposite arm in the same position and the other arm following the other leg. Next you want to take one or two transition frames in between the studs. for the final frame you want to have the leg put on the next stud and the other leg pointed back. Just repeat the steps and you will have a good walk cycle.
That’s about it for today. Have a nice day and stay safe!!!
Get the Latest LEGO Sales & Deals