

Have you ever wondered how toy photographers seem to get their LEGO minifigures to get to the poses that you simply can’t? In this article, I’ll walk through some of the tips and tricks that will make your figure look more posable than it actually is.
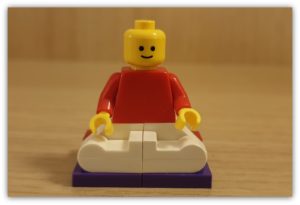
But let’s start with the basics. Our standard, constructed LEGO minifigures have seven points of articulation; neck, two shoulders, two wrists, two hips. In all cases, that articulation is bi-directional; that is, they only move in two directions (forward and back, left and right).

So, let me introduce you to something that is totally the photographer’s friend – Blu Tack. There are many variations of this product now, including different colours (as a trivia fact: Blu Tack was originally white, but people mistook it for chewing gum, so the colour was added). Available in stationers and craft shops, this product will provide a low stick putty to help fix and stabilise LEGO minifigures and parts. Oh, and Blu Tack can be spelled Blu Tack or Blu-Tack; whilst the original is made by Bostik I believe it has now become the generic term, not unlike Hoovers.
Facial expressions
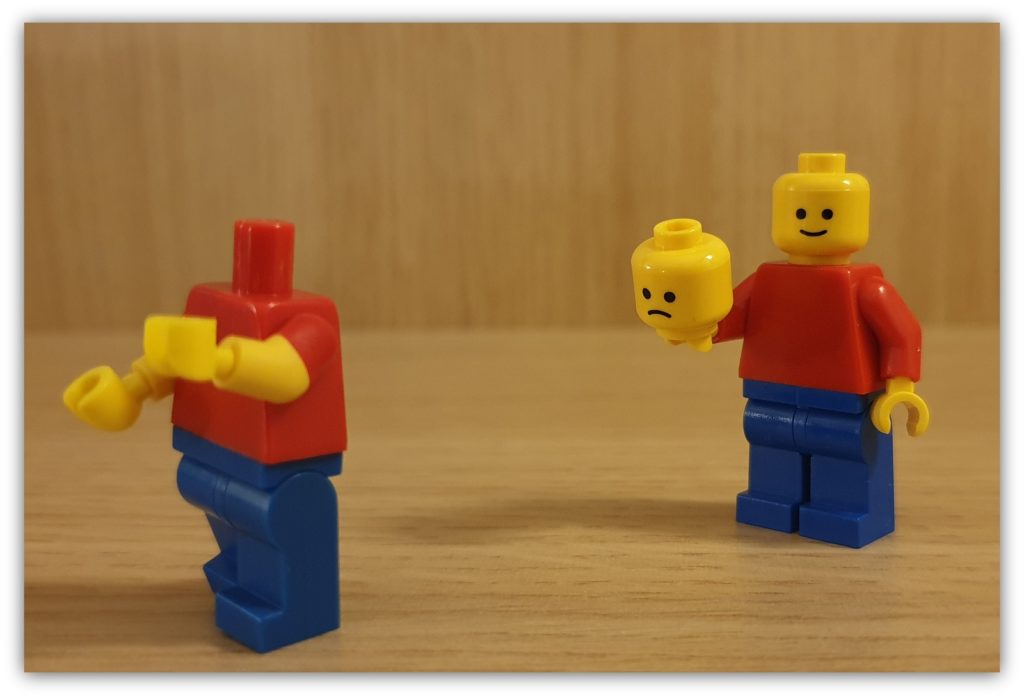
Let’s start with the face. As you may be aware, LEGO make loads of different heads, so finding a different head to show a different expression is much easier than it ever used to be! Additionally, there are third-party custom printing companies that will further enhance this range; the sad face in the picture above is by Citizen Brick. Okay, this isn’t really a trick – but is something to add a little extra if you are creating a stop motion video.
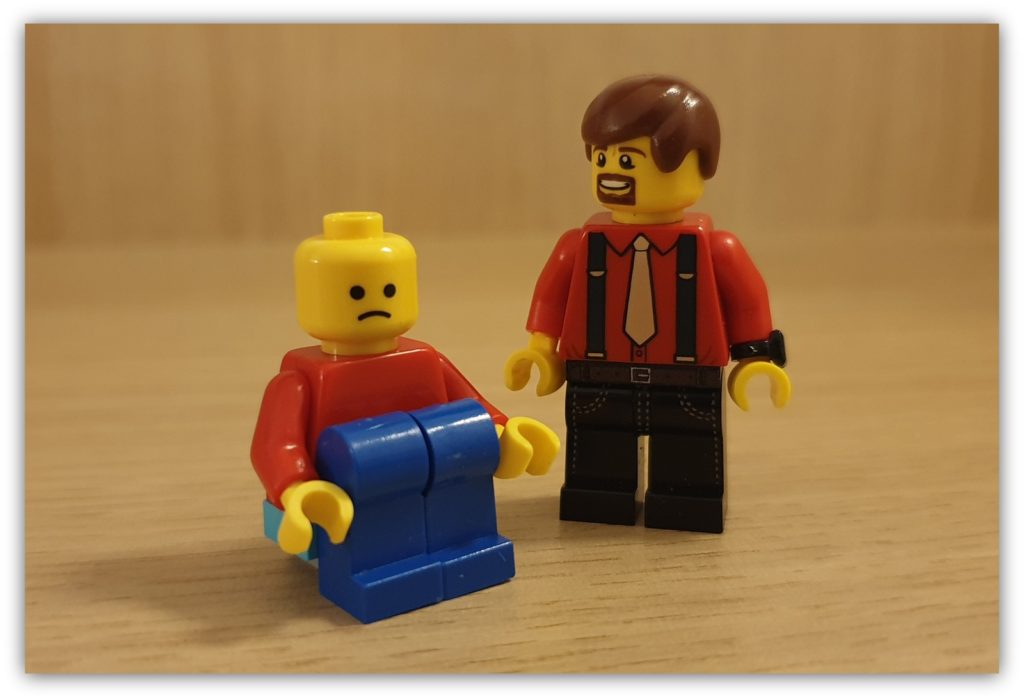
Head


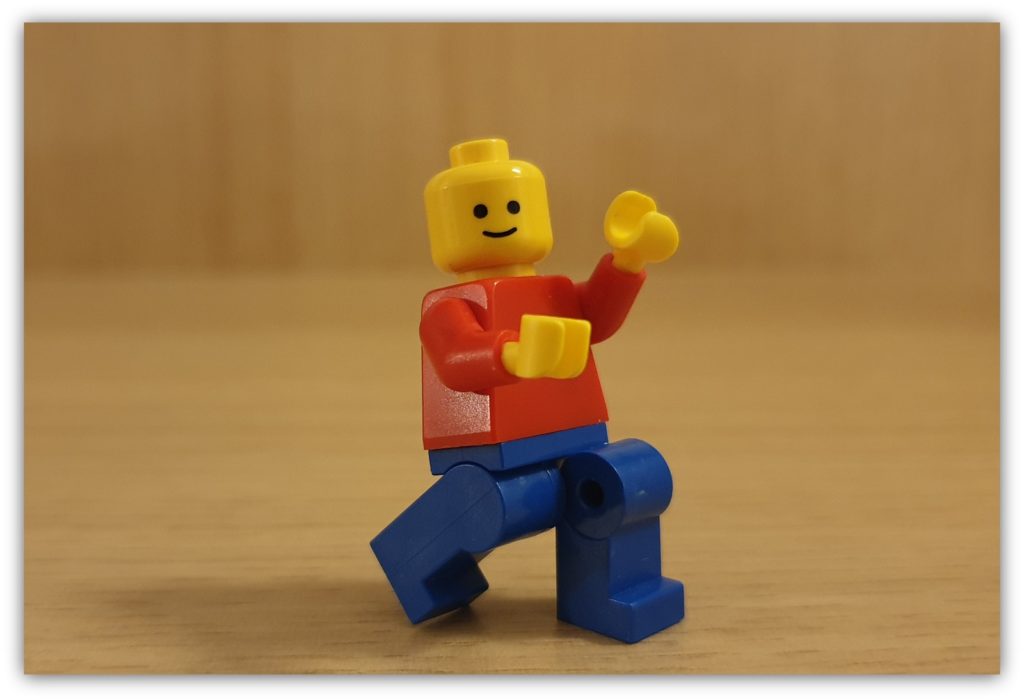
Look up, look down! I’ve included the mini-me here to show how I have achieved a greater mobility in the head of the figure. In reality though, this is an optical illusion with careful camera positioning.


Eagle-eyed readers will also spot that little bit applied to the left foot of my standard figure; this was because he’s leaning back so far, his centre of balance was compromised!
Shoulders

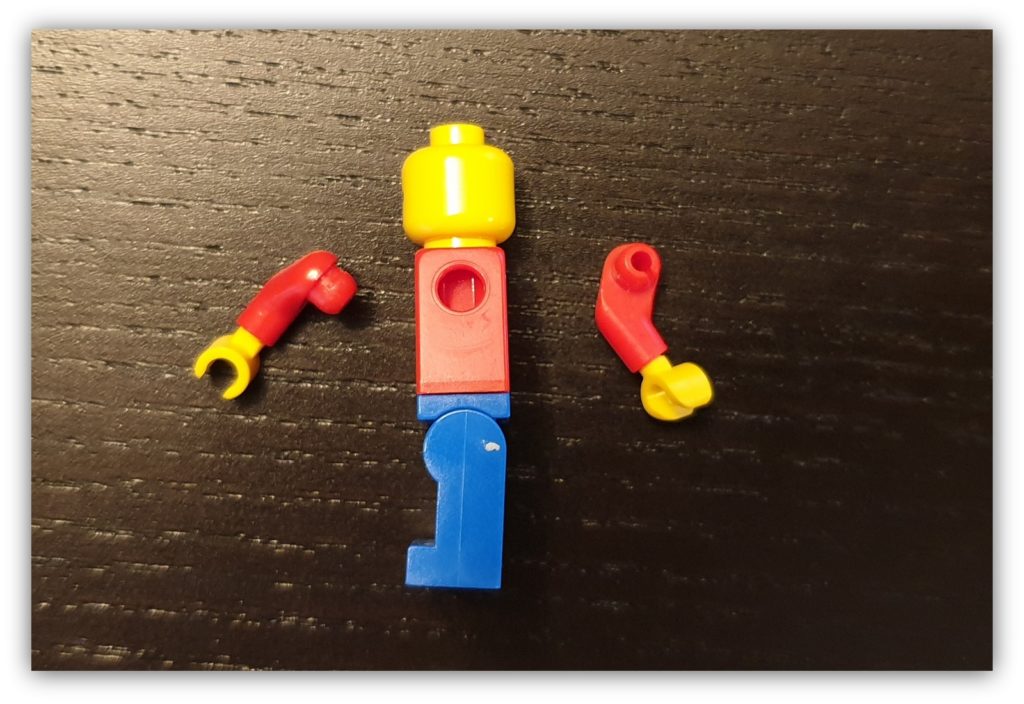
Ole! For this image, I needed to remove the arms from my minifigure. If you stick the arm out in front it can be gently levered off (and if you haven’t broken anything, it can be popped back in again afterwards). Once removed from the body, you can use our favourite putty to hold the arms in place.
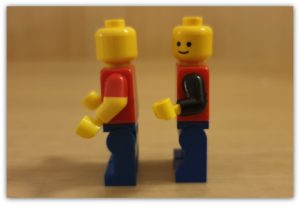
In our example above, the right arm it twisted outwards and the left arm is crossing the body. Having taken the picture, because I had a relatively plain background, I was able to use an image editing tool to “clone” out most of the bits I didn’t want you to see. Pulling back the magician’s cloak, here’s the before picture:

The one tip I would also add to this is that sometimes you will need to be really creative with placement. Because there is that lump that fixes the arm to the torso it does make the arms stick away from the body a little unnaturally.
As a further example to this approach, I created this image below for a photo-a-day challenge; it uses the same technique I’ve just described to get the hands to be exactly where I wanted them.

Get the Latest LEGO Sales & Deals
Arms
You would have thought that you couldn’t do much with the arms; after all, they are a single piece. Fortunately, though, Crazy Bricks has you covered on that and has a fantastic solution. You will need to remove the standard arms from your figure and the range of parts are limited to just black and white at the moment, but it does make things more interesting.
Once you have removed the arms, you will also need to separate the torso from the legs and put two special posts in the slots. Then, you can replace the torso and plug in the arms. The three images below show the posts in place, the right-angle bend in the arm and the outstretched arm.

What’s really nice about these is that once in place they are quite firm, and you won’t need to edit the image afterwards!
Hands
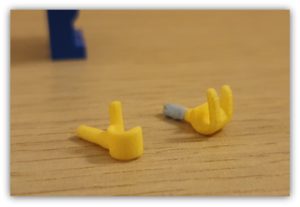
Getting mobility in the claw hand will also be a challenge and this time I turned to 3D printing to find a solution. I found an online seller that was creating these hands; a collection of thumbs up, pointing and horns. Because 3D printing was/is still new, these small parts aren’t cheap and as you can see from the picture on the left, the tolerances aren’t quite as good as I would like (that putty pads out the wrist and provides a more solid clutch).
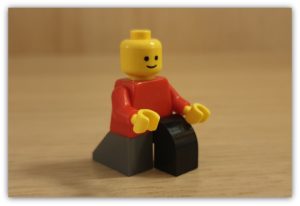
Legs
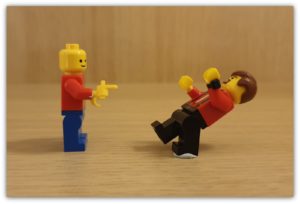
To date, the only LEGO minifigure size figure that I have seen with knees has been made by Oxford; unfortunately, the figure construction is such that I can’t “borrow” the parts to make my LEGO minifigure more flexible. Actually, the flexibility in that figure introduces a strange issue of its own; when the knees bend a hole appears at the front of the leg! Anyway, this lack of flexibility isn’t really a problem for the dedicated LEGO toy photographer; we can still produce the classic “Superhero landing”…
Of course, you know how this was achieved; there’s a little bit of Blu Tack holding that left leg in place. In hindsight, this image may have been improved further if I’d included extra mobility in the arms too.
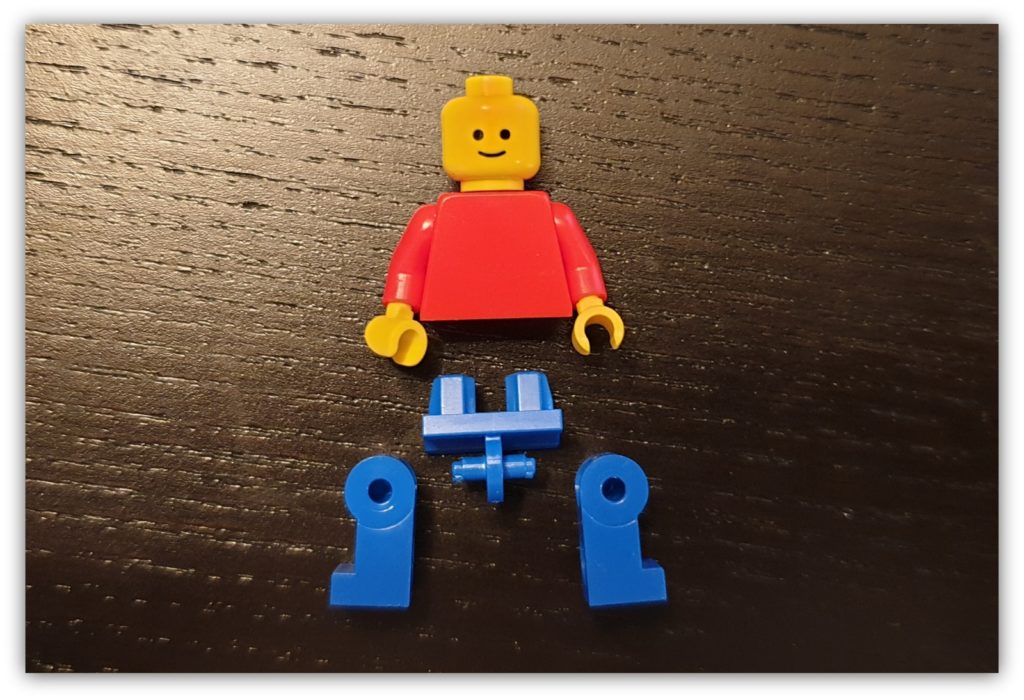
Unlike removing the arms where you can use the power of physics and levers, removing the legs from their spindles is a little more fingers and direct pressure. Whereas the arm has the plug and the torso has the hole to plug the arm into, the legs have the whole and the torso has the spindles. Pull directly sideways from the body and the legs should come off without issue.
But once those legs are off, it does allow for much greater flexibility in positioning. As an example, I wanted to have someone with their knees pulled up close:
You can see the 2×1 plate that I’ve fixed to the torso of the figure to bring the knees up to the chest; up to the neck would not have looked right.
Other Leg Construction techniques
Another option for the legs once they are off is to position the figure into a calm yoga pose. The studs on the back of the legs mean that they can be fixed to other LEGO pieces easily. To provide that full lotus position, you will also need to use two slope bricks to give the impression that everything is connected.

The other way of showing a figure kneeling, without having to pull the legs off, is to use other LEGO bricks. This works quite well, although you do lose those feet. This would be especially suitable for a scene where a knight is being, well, knighted.
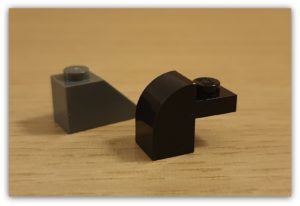
Leap of faith
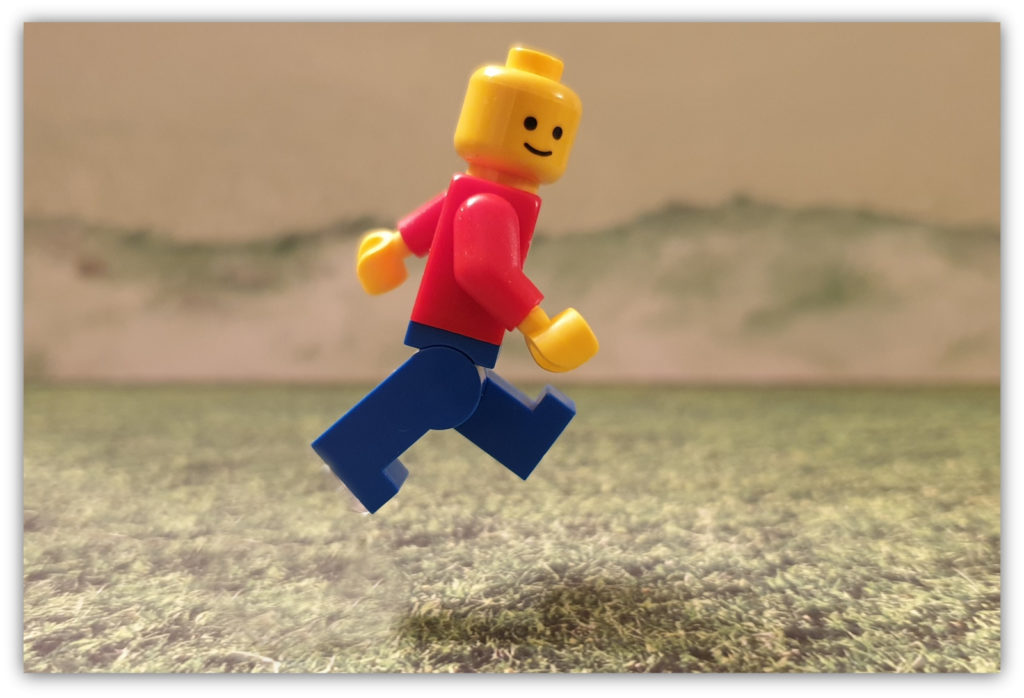
In the past, if you wanted to show full motion such as running and jumping, you would use a piece of wire threaded through the leg of the figure, fixed in position and then removed digitally once the picture has been taken. Now, whilst this is still the case (as shown by the poor editing example above), LEGO have produced a part that will make things easier for the photographer.

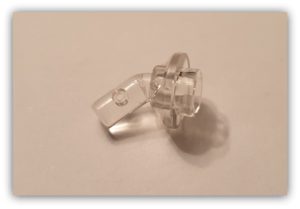
This piece was released as a piece in the LEGO Minifigures DC collectible series. Every figure had one of these (and in some cases, I found two in one bag). The stud connects to the figure, the post slots into a jumper stud that’s that! You’ll note that I used a small piece of Blu Tack in my image; this was because I knew I would be editing out the pieces and didn’t want to spend too much time creating the grass.
In summary
I am very aware that there are many more tips, tricks and solutions than I have shown in this article. I have seen LEGO minifigures in poses and still have not worked out how they managed to get the articulation. But a lot of the movement is, as we have seen, careful positioning of the figure for the camera; and having a ready supply of Blu Tack.
I hope this has been of use – let me know in the comments if you have any tips and tricks you use that I haven’t featured.
Get the Latest LEGO Sales & Deals