
Not a scratch!
My LEGO Millennium Falcon “my own creation” (MOC) is progressing well. I have been working on building a new version of the Falcon out of two official sets. One is from the Force Awakens; the other from A New Hope. In Return of the Jedi, Lando Calrissian, once again captain of the Falcon, took the ship into the superstructure of the second Death Star. In so doing, he knocked off the radar dish on the hull. Sometime between Return of the Jedi and Force Awakens, it was replaced. My working story is that it was replaced twice. Once with an iterative design, and then finally with what we see in the Force Awakens.
In a previous article here on the FireStarToys blog, I discussed in general terms the difficulty in building a curvy ship out of angular parts. In this article I wanted to hit on some specific challenges of the build and how I overcame them.
Get going, you old pirate!
First up, the cockpit. Oh my, what a difficult part of the Millennium Falcon to get right! [Full disclosure: I still have not.] My first design merely redesigned the cockpit, but remained based on the original LEGO structure.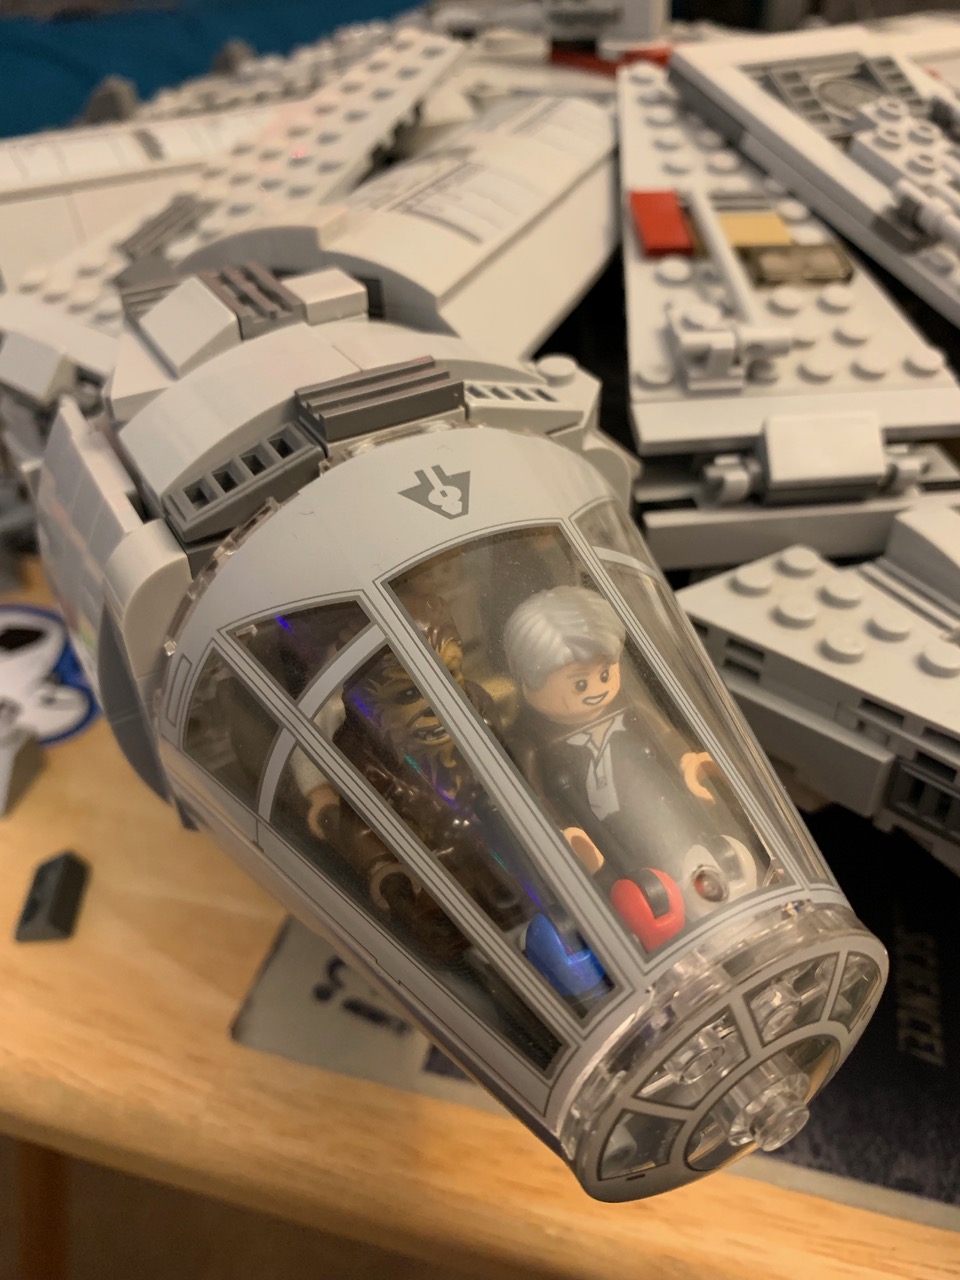
On almost all of the LEGO Millennium Falcons released, the cockpit does not directly join to the interior of the ship. Instead, in order to replicate the exterior look, the interior was sacrificed by the LEGO designers. All I did, initially, was try to allow for four minifigures to be seated inside the cockpit. This necessitated a little structure work and stripping the area down to the base of the model. I then built back up using hinges, plates and curved bricks to replicate the look but allow for greater seating area. In that, I achieved my goal.
 However, I was unhappy that my minifigures could not directly access the rest of the ship. Four times, at least ( I don’t remember fully) I stripped the cockpit down to the underlying plates and built it back up, each time getting iteratively closer to a full corridor from ship to cockpit. I tried regular studs-on-top brick building, I tried studs-not-on-top (SNOT) techniques, and even variants on my original design. Nothing really worked. As I said, I still have not built the cockpit satisfactorily.
Part of the problem lies in the amount of studs I have available to me. The width of the Falcon cockpit upper and lower halves is only 8 studs across, and 4 of those are part of the curve, leaving only 4 studs for building. The second problem lies in the height, which is a total of about 6 bricks. I am tenacious; this build challenge will be solved!
Get the Latest LEGO Sales & Deals
What a piece of junk!
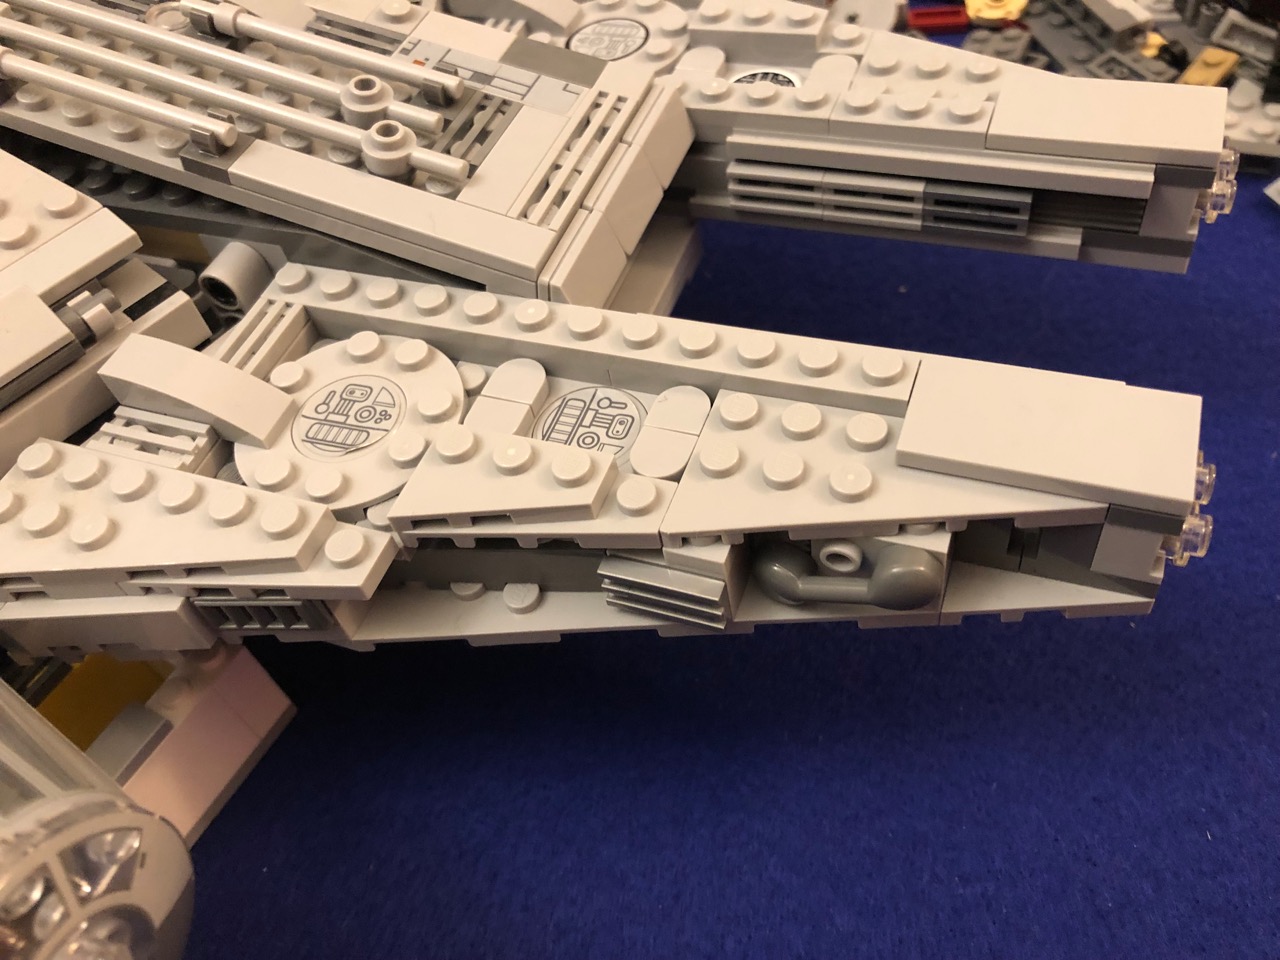
The Falcon, despite how much I love the look, is constantly called a “hunk of junk” or worse. The exposed machinery dictates that aesthetic, along with cables and other exposed bits of the ship. Smooth hull plating, or a snazzy paint job does not define the Falcon. To replicate that look, I have added as much greebling as I am able. The term “greeble” comes from the original Industrial Light and Magic designers on Star Wars. The term simply refers to the “guts on the outside” details that define the look of many science fiction ships in film and on television.
 I’ve added many interesting studs to the exterior hull on the sides and top. I have tried to replicate the look of the film Falcon, with various rods and connectors and grate bricks representing conduit, covers, and what-not. I use the matte silver pieces to give a metallic look, or dark grey to offset the mostly light grey plates that comprise my MOC’s hull. Interestingly, the film Millennium Falcon does have various bits of red (possibly rust) or tan on the hull. Adding these in the right places really makes my LEGO Millennium Falcon look great!
She’s fast enough for you, old man.
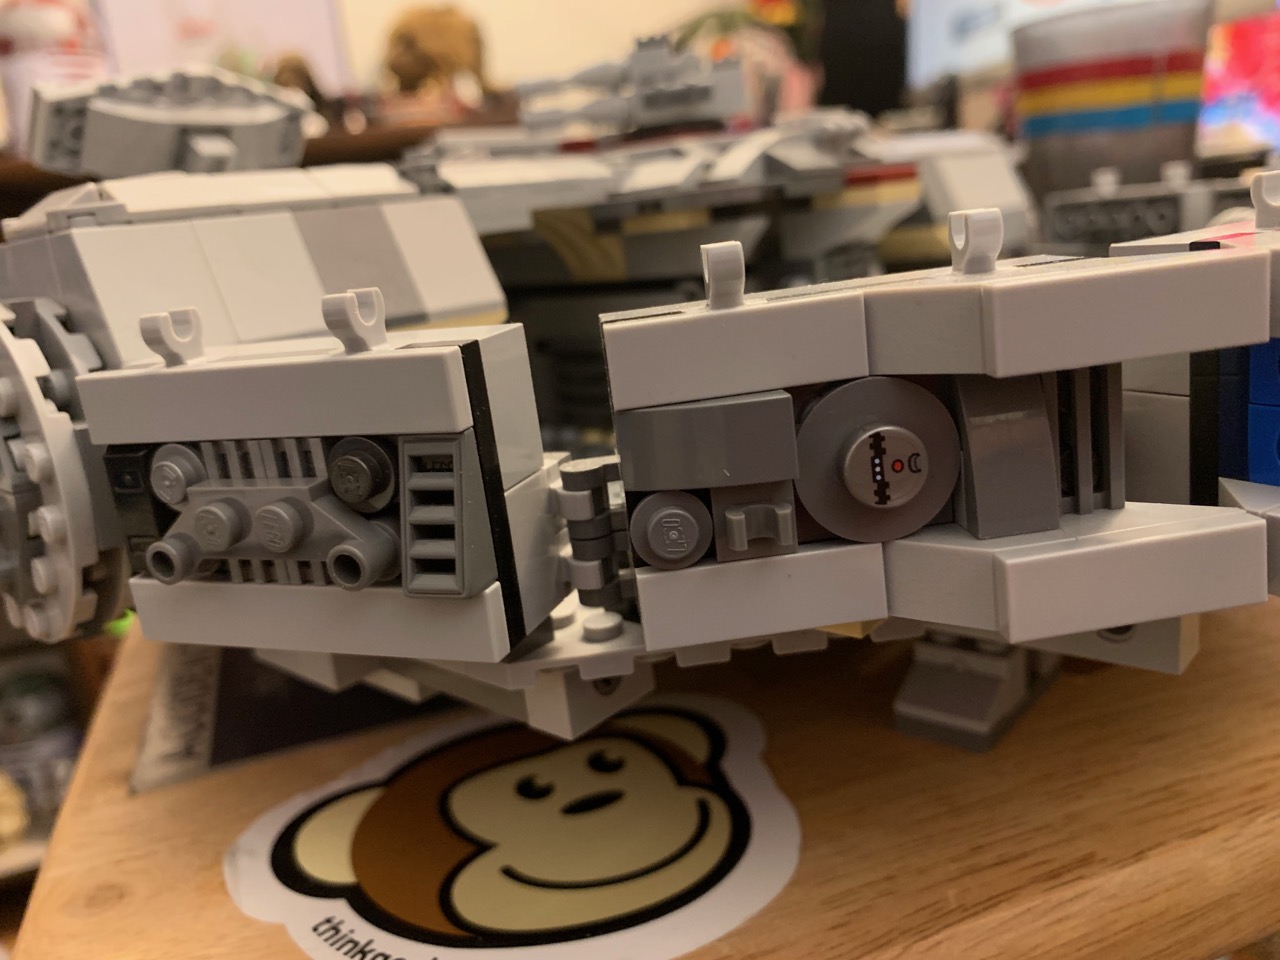
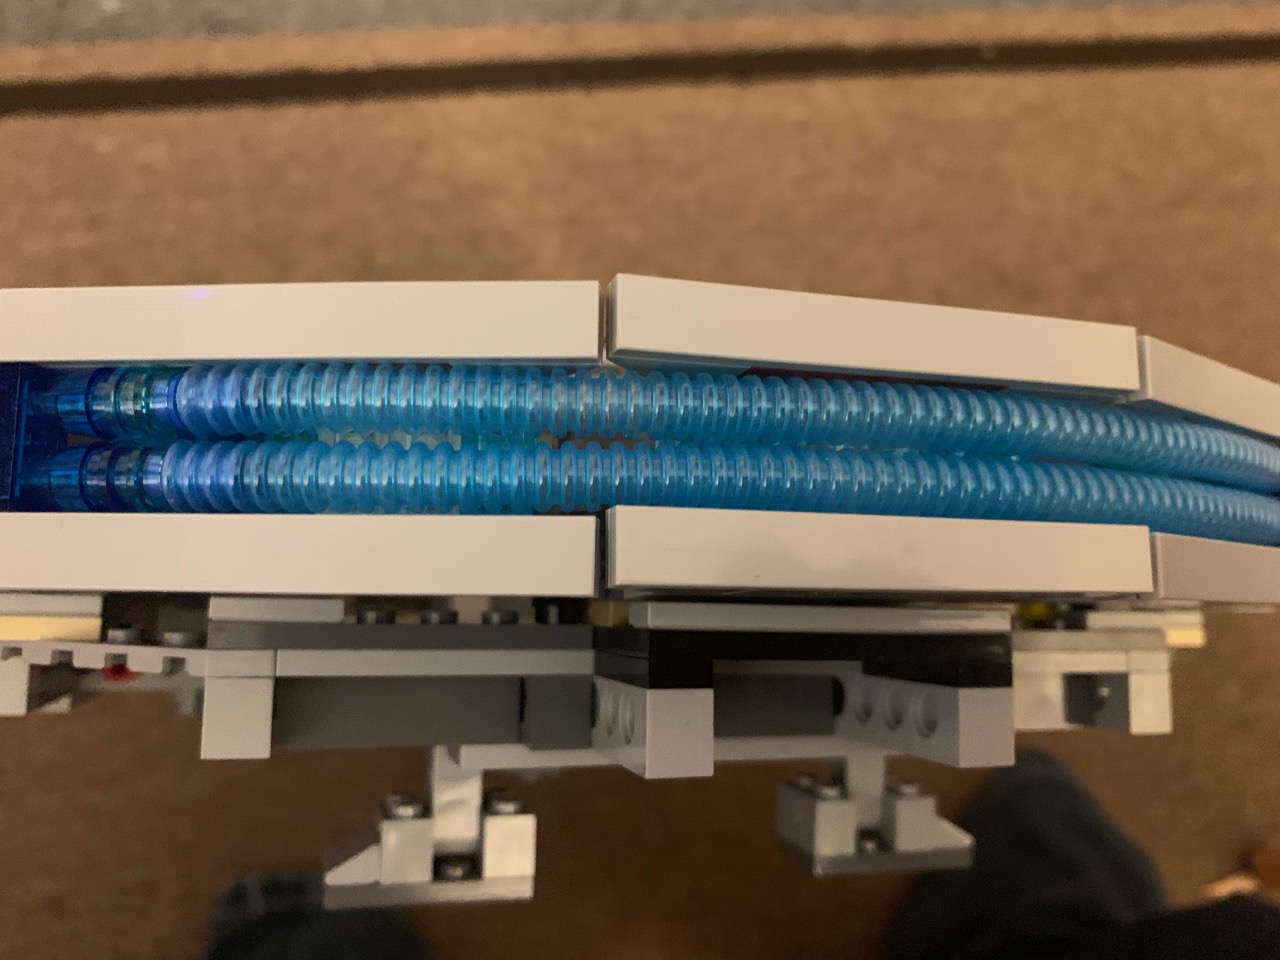 The Millennium Falcon is the fastest ship in the galaxy. This claim is bolstered by Han Solo’s own boast about the length of the Kessell Run he made as a young criminal. Nonetheless, the Falcon’s heart is its engine. In trying to recreate the blue engine glow on Falcon’s aft, the build forced me to redesign the entire hull. Originally, the LEGO Millennium Falcons have a 1 stud wide length of transparent-blue tubing to represent the engine glow. In looking at my reference photos, it seemed to me that it should be 2 studs wide. This meant I needed to rebuild every single section of the hull. After expanding the hull by 1 stud, I added the second section of tubing, and I must say, it looks great!
Blow that piece of junk out of the sky!
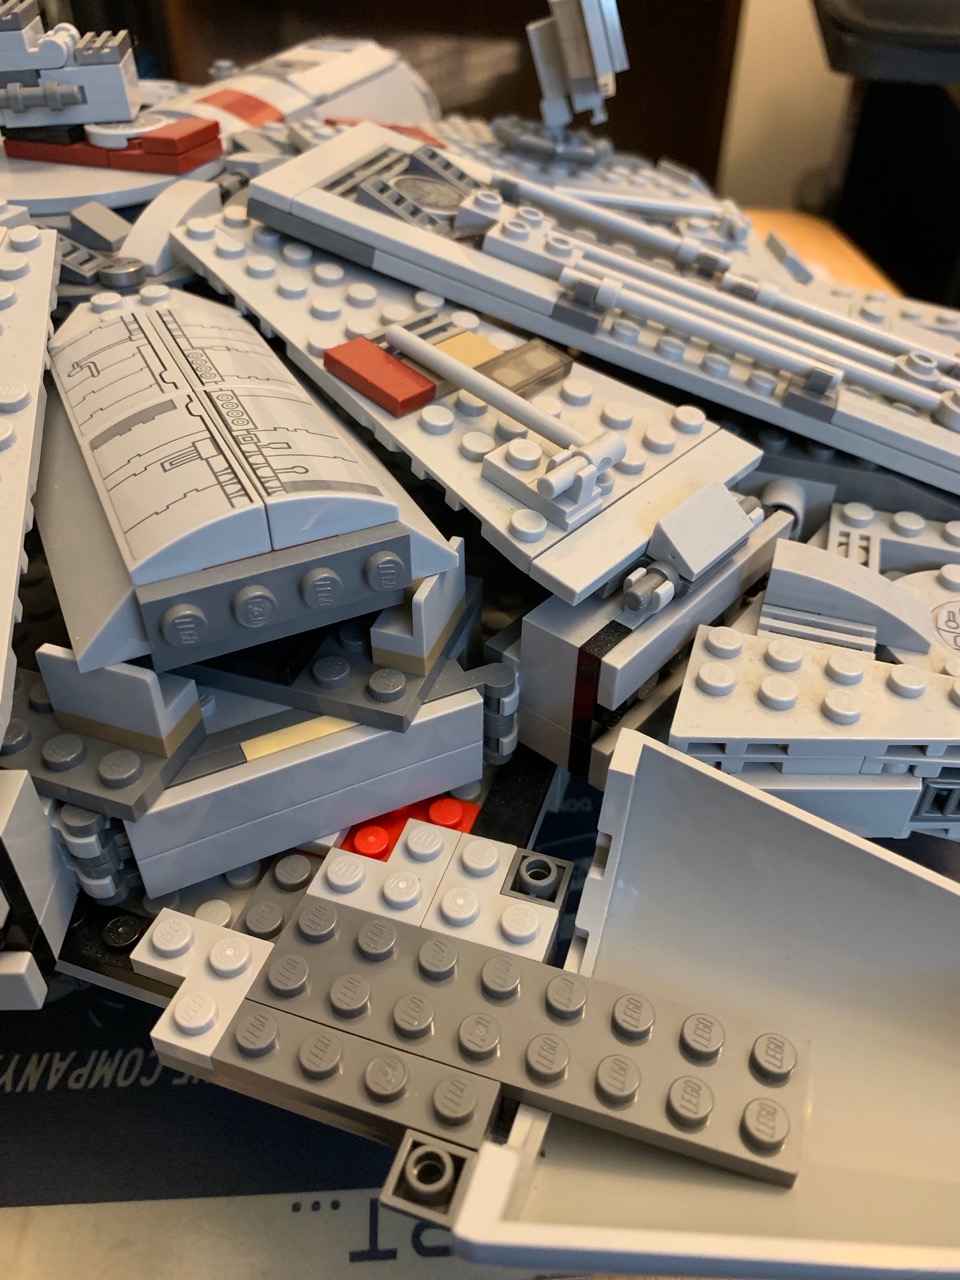
In the Last Jedi, villain Kylo Ren’s father’s iconic ship so enrages him that he orders all of his troops to fire on it. Amusingly, I may have granted his wish for one of my LEGO Millennium Falcons. So many bricks and bits have been borrowed that it is almost literally stripped down to the plates. My purpose all along in buying two Falcons was to share parts. Still, I’m surprised by how many I’ve stolen. As it is, I will have some parts left over I cannot use twice, such as the cockpit sections, but mostly everything has been donated from one to the other. In fact, I have built and borrowed and rebuilt so much that I can no longer remember which Falcon was which!
Incidentally, I had scattered so many bricks across my worktable that it looks as if Kylo Ren had succeeded in his vendetta. The clutter serves to remind myself to always keep a somewhat organized workspace. After all, trying to find a 1×1 stud is easier if it isn’t buried beneath other bricks of similar colors!

I will be back later on with another update on my LEGO Millennium Falcon MOC. Until then: I look forward to what we can build together!
Get the Latest LEGO Sales & Deals