If you’ve spent any time playing with LEGO (or indeed any toys) then it is quite likely that in your head you’ve enacted some form of story with your figures. And if you have a camera (or camera function on your phone) then it is also possible that you have taken some pictures of your toys and creations with them. There’s a great article on how you can take a reasonable static picture here. Of course, whilst a decent still image will tell a brilliant story, a moving picture will make that story even better. To tell that story with your toys, you may need to create a LEGO “stop motion” film.
This article will outline the steps and things you will need to create your own film. I wanted to create a movie showing how to follow certain dance steps, so this is the basis for the images in the article.
What is stop motion?
Stop motion can be thought of as a collection of still images, shown quickly one after the other to give the appearance of movement. Back in the day of film reels, video cameras would capture the action at a frame rate of about 24 frames per second (fps). Each frame is a single picture image. The projectors would then show these films at the same speed and it would appear to show moving images to the viewer.
For recording people, this frame rate is no problem at all; the challenge is when you are getting a non-moving object to appear to move. Fortunately, our brains interpret these “films” and for our animation we can work at a more reasonable 8 fps.
Preparing your film
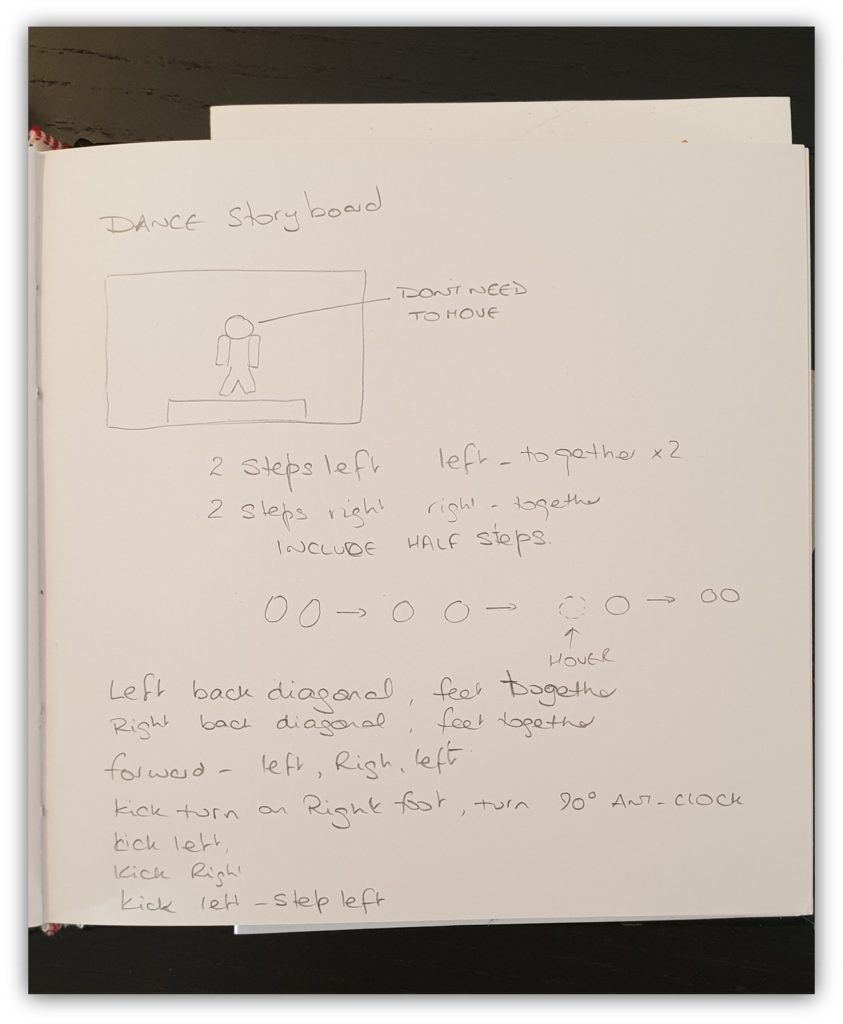
Because it will take a while to make your LEGO stop motion film (as you will see!), it is important to have a plan of what you want to achieve. This plan is what is called a storyboard – and can be a written list, or a series of cartoon images (so not unlike a comic). It doesn’t matter if you can’t draw, the purpose of the storyboard is to enable you to create the film without getting lost along the way. It will also help if you find you can’t start immediately – after all, you’ll need a stage!
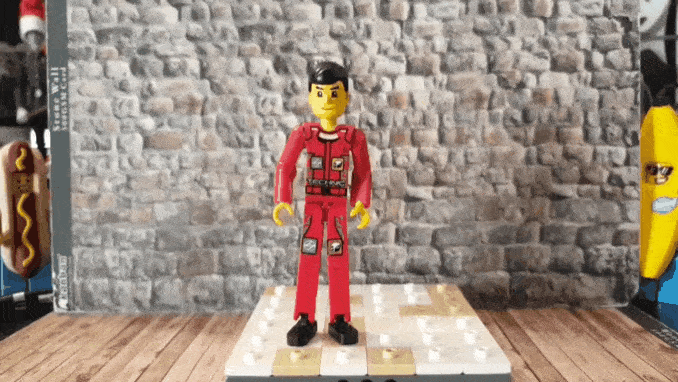
All the world’s a stage
Once you have your storyboard, the next step will be to set up the stage where the action will take place. Getting this right will be a huge assistance when it comes to making the magic happen.
Because we are working in stop motion, any actual movement will happen off camera. The approach is to take a picture, move something, take another picture, move something, take a picture and so on. The only things we want to move are the things that are supposed to move. To help with that, ensure that the set is as clear of unnecessary items as possible; this way you are less likely to accidentally knock something (you probably won’t know about it until you’re watching the playback). Also consider what you will be wearing as well; a loose shirt may catch on something and hours of work will be lost because part of the set has fallen apart.
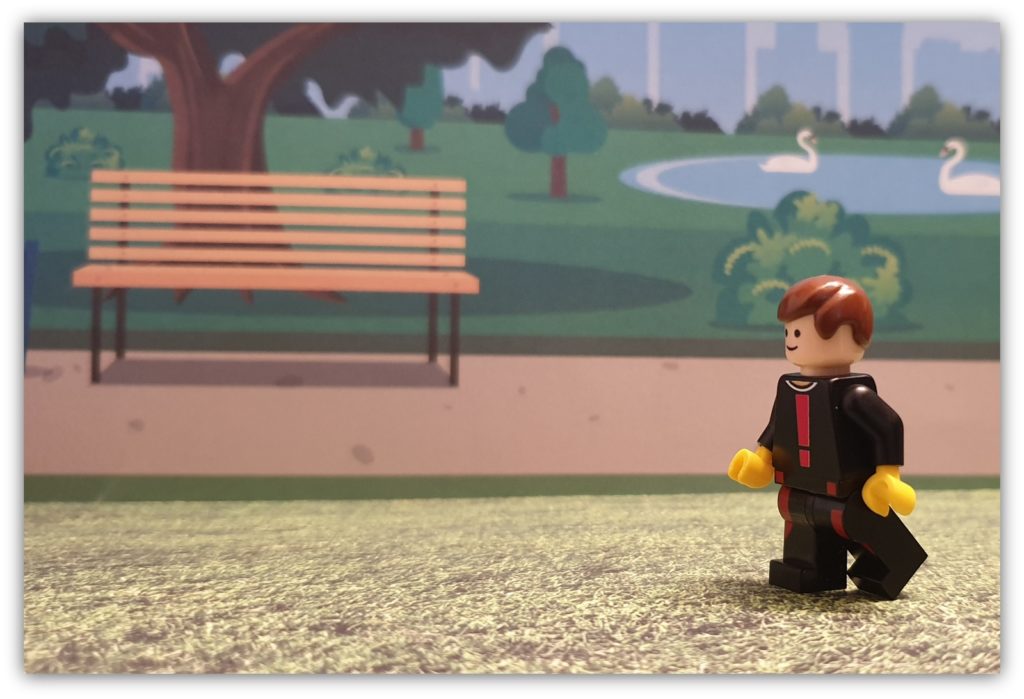
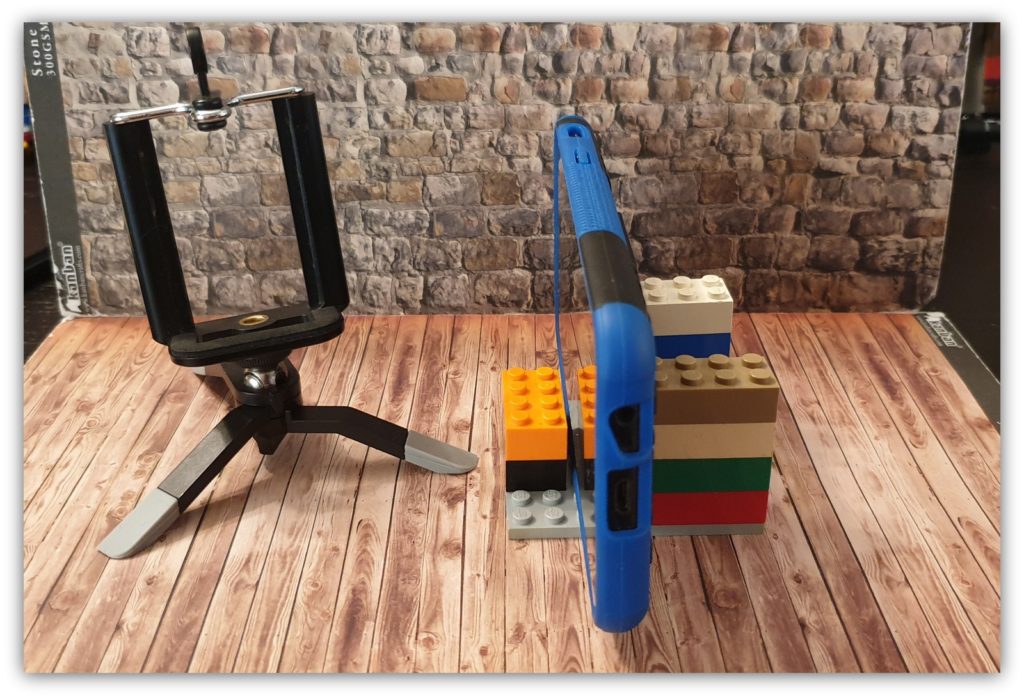
Although we will be talking about the camera in a moment, take a moment to check what will be in view and what will be out of view. If your pile of laundry is in view, then that will be thing people will see. You may want to consider your background; and the article on photography talks about options for that. You’ll notice the two figures either side of the backdrop in that first image, for example.
For my video, all I need is a small stage platform. You’ll note that I’ve covered the surface in single stud plates, something I’ll come to later, but for now, recognise that this simplifies my stage area. I’ve also used a simple background; this effectively ensures that the viewer will focus on my stage.
Filmed in Stable vision!
Remember in the last section I said that the only things that are supposed to move are the things we want to move? Well that includes the camera. No matter how steady your hand is, if you move the camera between images it will show up in the final result. There are two ways of stabilising your camera.
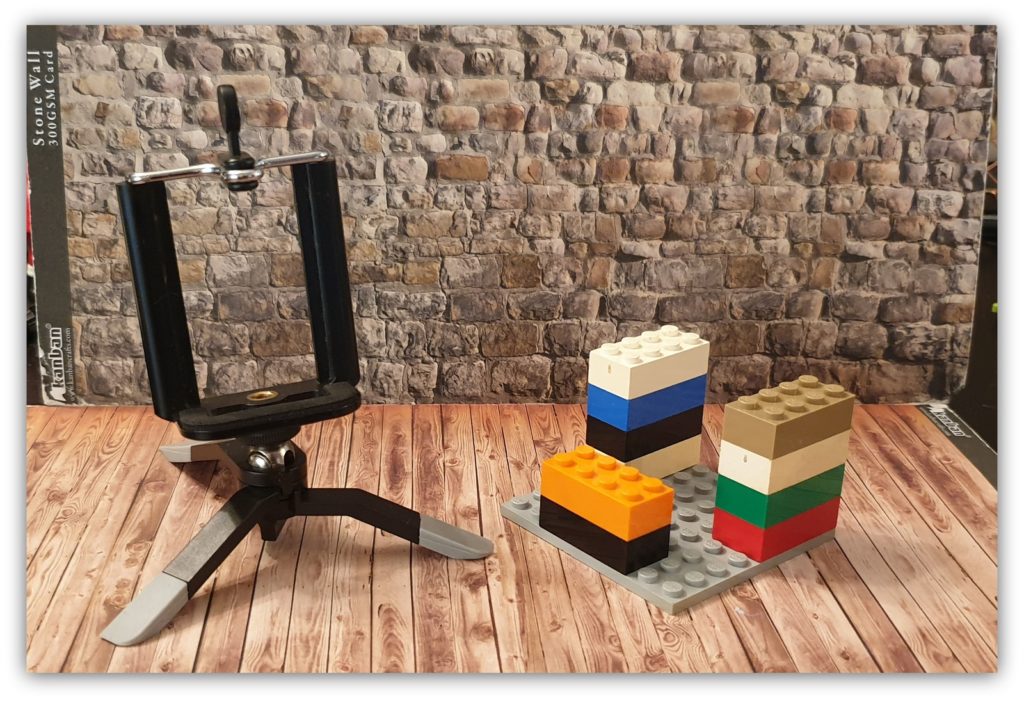
The first is to purchase a proper camera stand. For “proper” digital cameras you could use a proper tripod. There are tripod stands for smartphones (which is what I will be using).
The second option is to use your LEGO and build a frame that will hold your camera relatively firmly. It doesn’t need to be overly complex, but don’t forget when you build your camera frame you will need to press the shutter button and that the camera lens must be able to see the stage! I would also suggest that you make sure that the build is solid; creating a LEGO stop motion film is not a quick process. Using 2×4 bricks are great and will be quite resilient.
Get the Latest LEGO Sales & Deals
We’re nearly ready, but there is one more step; make sure that your tripod and stage won’t move unnecessarily. You could use Sellotape or Blu-Tack to make it all a little firmer.
Last Call for Actors!
Before we head into the movie making business, we need to consider what movement we will want. Standard LEGO figures have some movement, but that movement is limited. As an example, an arm can raise or lower front to back, but can’t move out to the side. If that is the movement you want you may need to consider what steps you will need to take to make that happen; and remember that for a good LEGO stop motion movie your hand cannot be in shot!
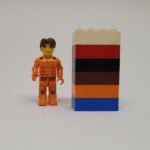
As I need my figure to step to the side, I needed a figure that could do that; and for that reason I decided to use a Technic figure. For the magic clock I just needed to make sure that I could take parts off without compromising the overall image.
Action!


As I said before, figure action is snap image – move figure – snap image – move figure etc. To ensure that the image is smooth, any movements should be small and consistent; if you raise your arm normally for example it may take half a second, so to recreate that in stop motion you will need to take four images (working at 8 fps) moving the arm from straight down, angled down, straight out, angled up and fully up.
The same is true for moving. A standard LEGO plate is perfect for this – the studs provide a perfect placement for feet (and because LEGO figures can move their legs independently, they can look like they are walking!
Image editing
We now have a bunch of images; time to turn them into a movie. There are many apps out there that can be used to create movies; some will allow you to take the photos in their app, others will allow you to upload existing images; others will the allow you to edit the images in the app. Additionally some apps will only allow you to do some functions if you pay for the function.
I downloaded two free apps to see what would happen (for reference I am using an Android device). Zing Stikbot Studio 2 is simple to use, but it will only work “live”; that is you can only take images not upload ones you have already created. The other app was the Film Maker Pro (Free version). That did allow me to upload images I had already created.
Depending on the app, editing the images can be a challenge, so being able to import images can be essential. An example of when this would be useful is if your figure was flying and you had used a wire to suspend the figure; ideally you would want to remove the wire from the image.
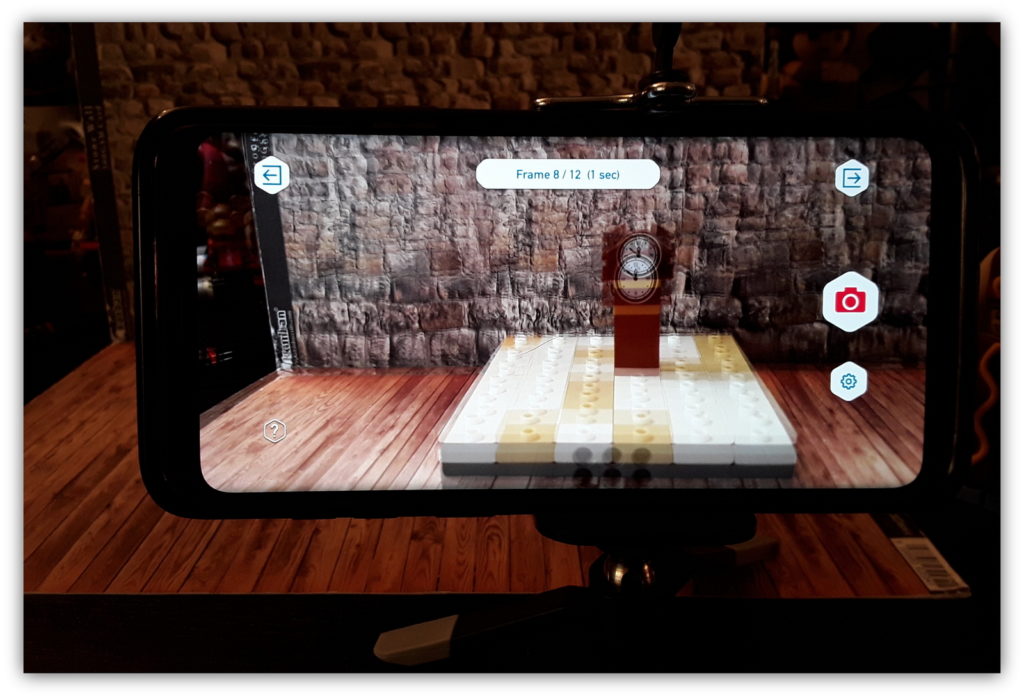
What I did find really useful in the Stikbot studio was the ability to see the previous image; I could confidently take the figure away, make the movements and put it back in the same spot. In the example above, you can see that I’ve adjusted the clock by taking one brick away.
The Red Carpet
Once you’ve made your video, you should want to share it. Be aware that some free apps will insist on putting a watermark on the final result; but hey, there’s no such thing as a free lunch! In the example apps they both created an MP4 image; I then used a GIF converter to present the final video. I also reduced the quality of the images to reduce the overall size of the files.
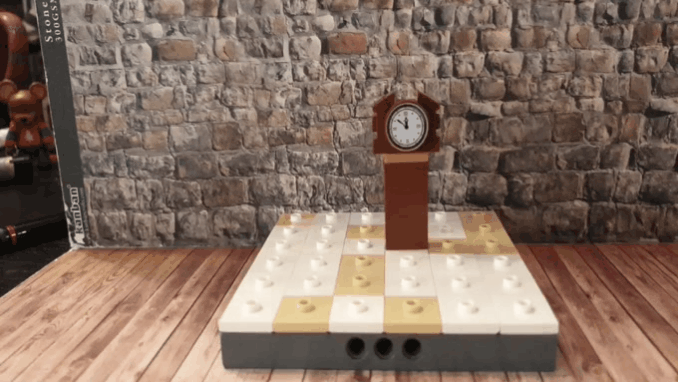
A couple of things stand out for me looking at this looped image. Firstly, I can see my Christmas bear in the background. Secondly, you can see that the background and the base plate has moved in one of the frames. But just looking at the clock the effect is working quite well.
If you have got to this stage, I’m sure you will have seen how rewarding creating LEGO stop motion films are. You’ve also probably wondered how it was suddenly late in the afternoon and all you’ve achieved is making a LEGO figure walk across the screen! But you’ve gone through the same steps that Ray Harryhausen followed to make his classic films in the 1970s and 1980s; or more recently Aardman Animations to create the Wallace and Gromit films (although they would have used slightly larger stages!)
Happy animating!
Get the Latest LEGO Sales & Deals