Many toy photography guides focus on the art of photography from a point where the reader will already know all the tricks and is looking for something else to improve their photography. This short guide goes back a step and just deals with the absolute basics. Whilst there are apps and computer programs that can enhance a photograph if the original image isn’t good it really limits what you can do next, especially if you just want to click and share.
I’ve played with LEGO for many years now, but only started to share my images in the last ten. I started when I realised that I could use my toys (and in particular, LEGO) to help illustrate such things as six-figure grid references and setting up campsites without having to take people out into the field. Whilst I started out using a Digital SLR camera I now work almost exclusively with my Samsung S9+ phone, using apps like Pixlr and PicsArt to crop and tweak the original image. I took the images in this article with my mobile phone; after which I just cropped and added the drop shadow; in other words, very light editing.
Setting the scene
Probably the two most essential elements of any photograph are the scene and the story. Without these the result will be jarring to the viewer or worse; the reader will be ambivalent to the image. Your photograph is a snapshot of time and you’re taking a moment to capture it. So, what are you hoping that the viewer will see?
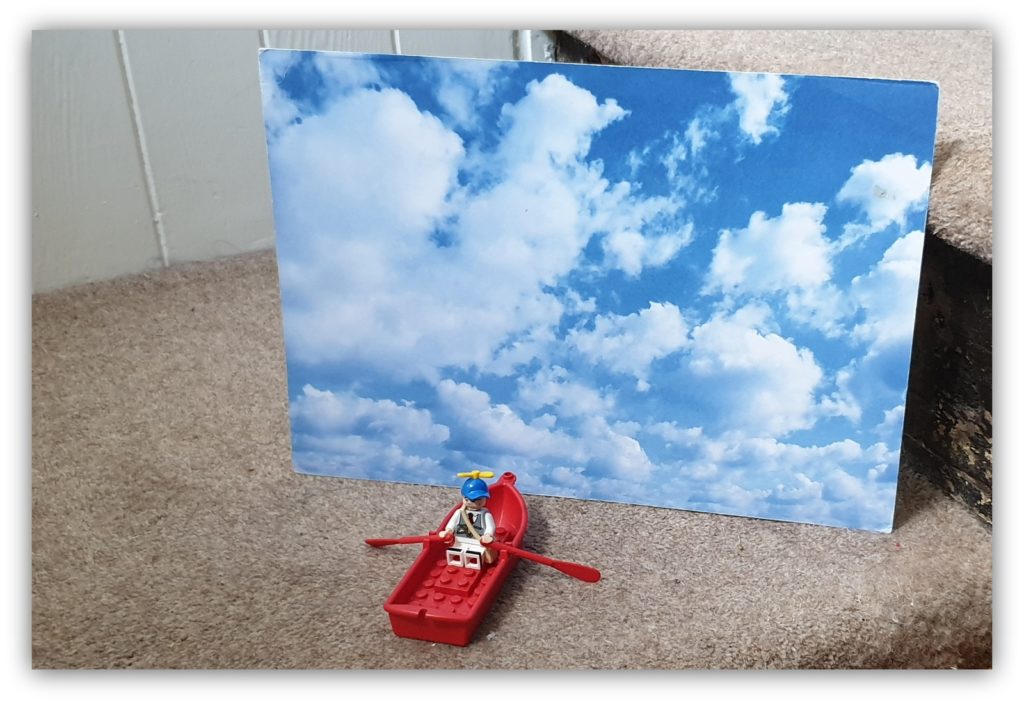
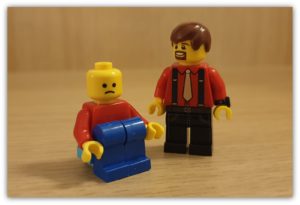
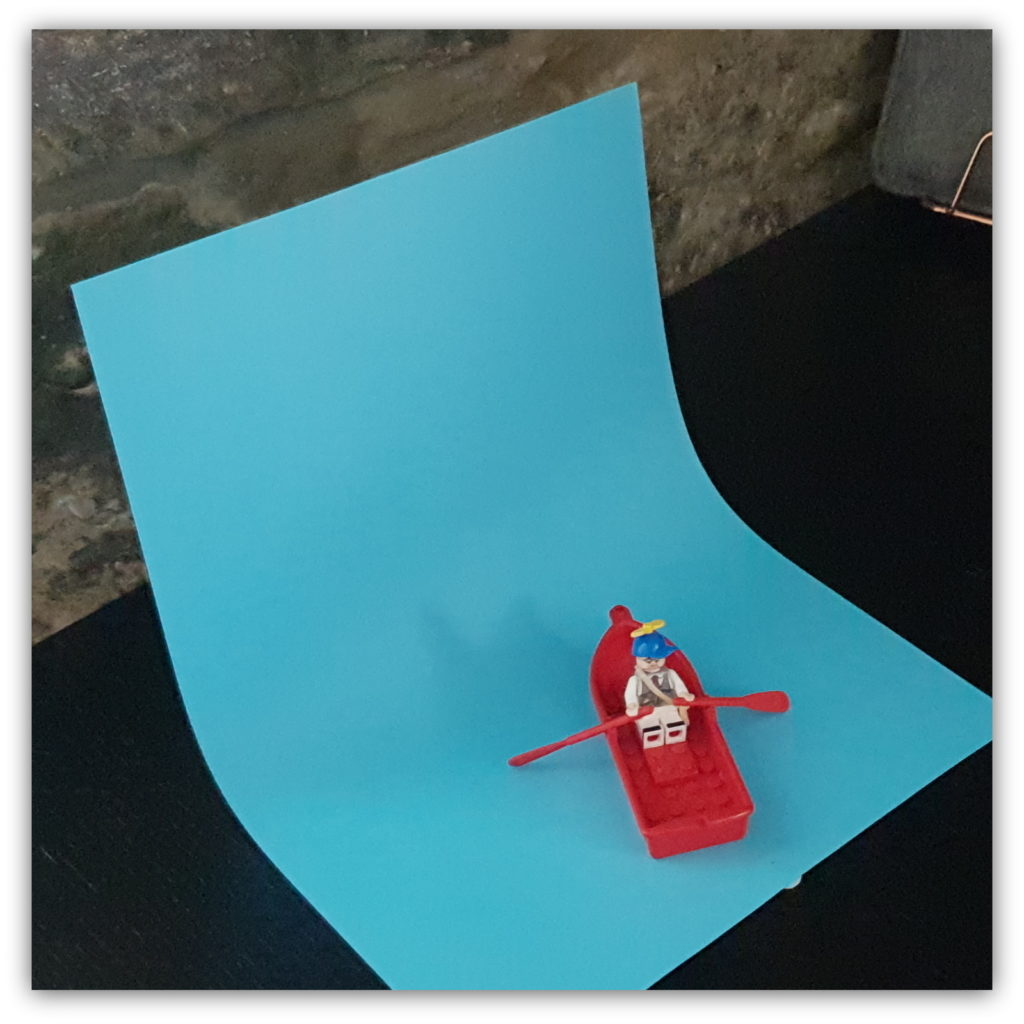
If you look at many images that parents take of their children’s creations they are often taken from high up and feature the carpet, skirting board and possibly the washing too. It is a photograph of a toy, but it isn’t toy photography. To me, toy photography is bringing the toy to life in some way. The picture above shows a simple setup, but then there’s all that other stuff also in the frame. If we drop our viewpoint, we can see how the picture changes – and now it’s as if we’re swimming behind the boat!

Breathe!
Something often not mentioned when talking about photography is breathing. Because our subject matter is only a few centimetres tall, a small shake can totally ruin the photograph (okay, it can blur normal photos too, but sometimes you can get away with it). Additionally, unless you’re using a proper camera, you will be holding the camera away from your body. Holding your breath can create camera shake and over time your mind starts to think about breathing in or out. So, take a breath and slowly exhale whilst taking the picture. Or, you could create a mounting frame or tripod to hold your camera.
Layout
I mentioned earlier about scene and story being two most principal elements of any photograph. Everything in the picture should be thought of as being part of the scene and it’s like a magic trick. In order to make the magic trick work, the magician will make you focus your attention to a specific thing and whilst distracting the audience can then manipulate as needed.
When taking a photograph, we need to look at everything in the image, not just what we want to make the primary subject. As an example, in the image in outdoor photography we can see our minifigure rowing across a lake, but you can see the gazebo reflected in the water and at the top of the picture.
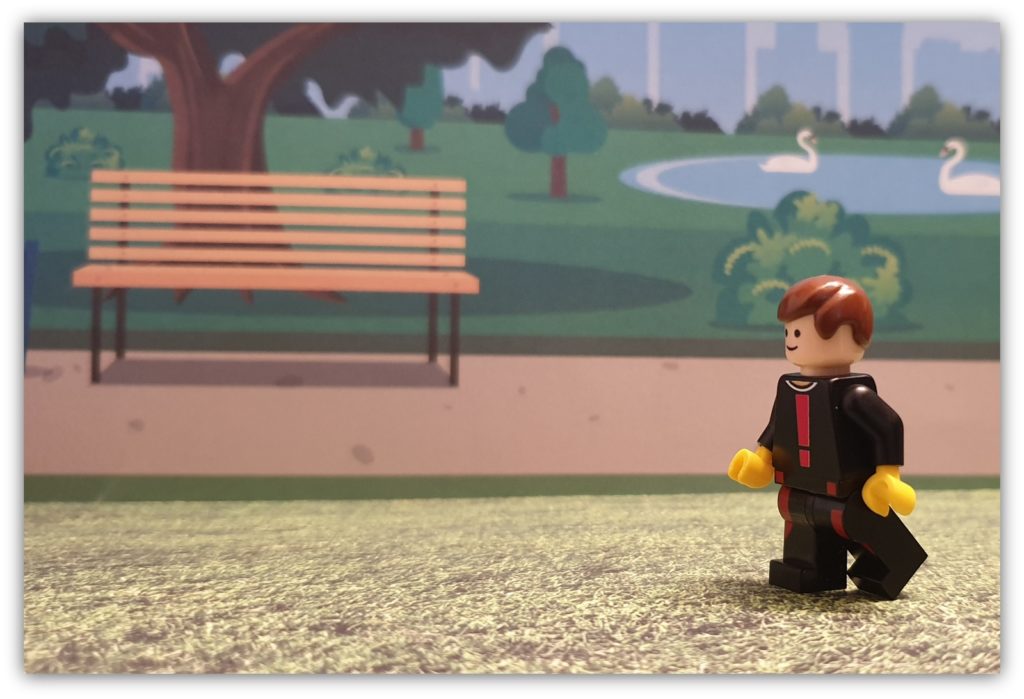
Story telling in photography isn’t just what is seen, but also what is implied. Toys are typically static, and our photography may want to imply some movement. In the image below, we can see our LEGO man walking on the grass from the right to the left. But here’s the clever bit.
You may have heard of the “Rule of Thirds”. This rule says you should not be put the primary subject in the centre of the image, but just to the left or right at about a third of the way across (or top to bottom). If we put our subject matter to a slightly more extreme position in the frame, the implication of movement is more pronounced; in the example the implication is that the figure is walking slower than we had anticipated because if they had been walking faster they would have been on the thirds line or in the middle of the picture.
Background
Everything in the picture is part of the story and if our photography is trying to bring our toys to life then things like skirting boards should not be part of the picture! There are effectively four ways we can create the background. The first is to have a real background and we will talk about that in the next section.

The second is to create the background. If you have LEGO, then the answer is ready for you. I created the background relatively quickly on a 16×16 baseplate. The house is two studs wide and extends four studs higher than the door. I used a blue plate with flat trans-blue studs which provides the water; I did this in case any of it was visible in the picture but also if it reflected onto the boat.
Our third option is to use a background card, an example of this can be seen in the image of the LEGO man walking across the park; both the grass and the park are cards. This is a very simple option for desktop photography as it is very simple and easy to set up, as can be seen from the first image in this article.
Get the Latest LEGO Sales & Deals
The fourth option is also to use a card, but as a single piece going under and behind the subject. This is useful for providing “no” background and enabling the viewer to just focus on the subject matter itself.
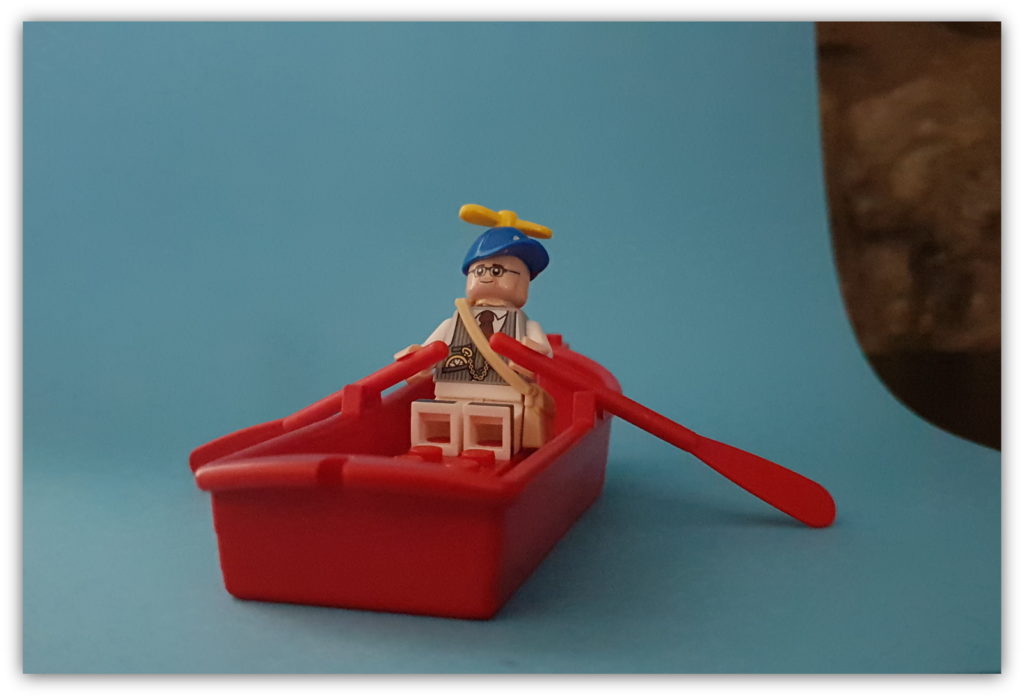
I’ve deliberately left my wall showing on the image above so you can see how it looks at the flatter view; if you cover the right side you can’t tell where the horizontal ends providing an infinite space.
Outdoor photography
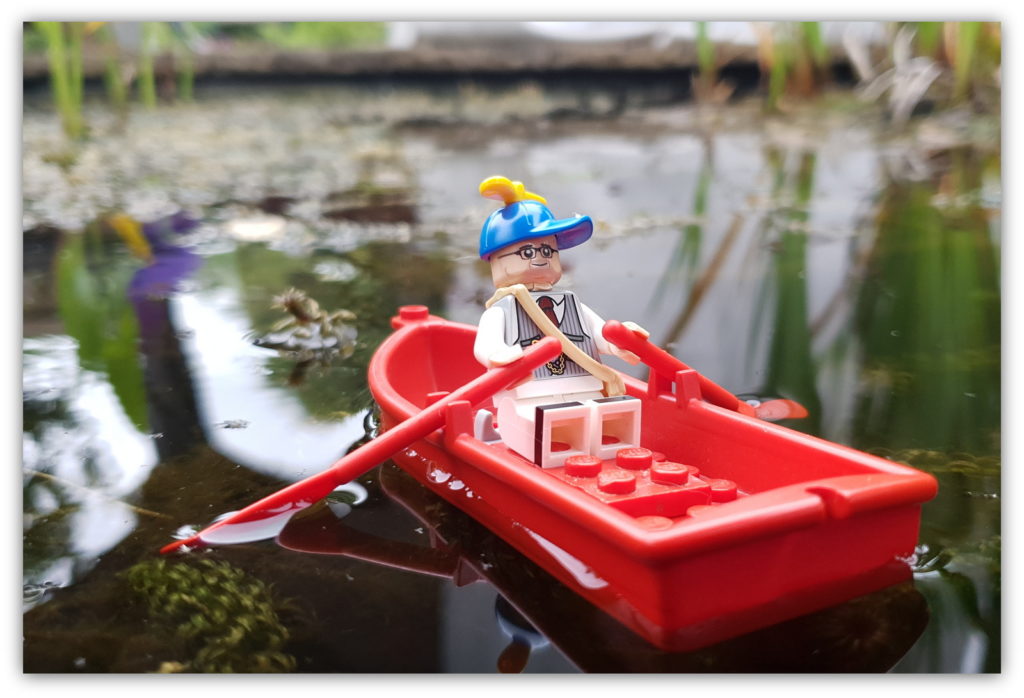
I’ve focused much of this article on using images taken indoors. This is because this gives me the greatest opportunity to control the scene and the environment. Moments after I took the picture of the rowing figure on my pond it started to rain!
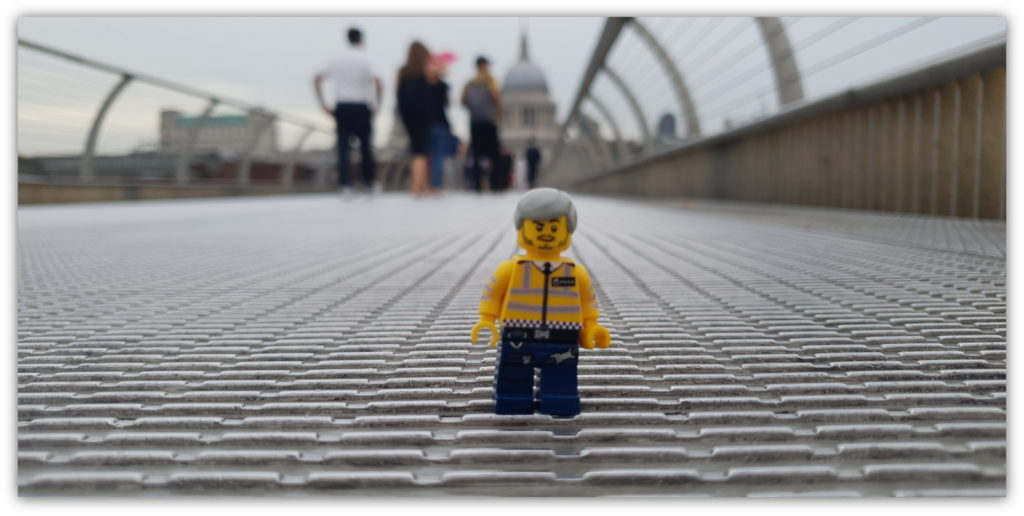
My final image was taken on the Millennium Bridge over the River Thames. In order to take this picture, I had to lay on the ground to get to the right angle. You’ll note that my policeman is in the centre of the picture; I figured I would be able to move the policeman in the crop when I shared it on Instagram. Because the figure is so small, the background is blurred; it’s fortunate that St. Paul’s Cathedral is so obvious in shape as otherwise it could be any metal walkway!
Over to you!
This article has focused on the absolute basics of toy photography. I deliberately avoided discussing the camera or the “rules” of photography; to me, the image should tell a story that I want to take in. A good camera may take a better picture that will allow a greater scope to edit and tweak but it’s far better to take an image that requires little effort to engage the audience. Hopefully you will now think “I can do that” and to start to take snapshot stories. Have fun!
Don’t forget to check out this article if you want to see how one’s toy photography skills can improve as years pass!
Get the Latest LEGO Sales & Deals